
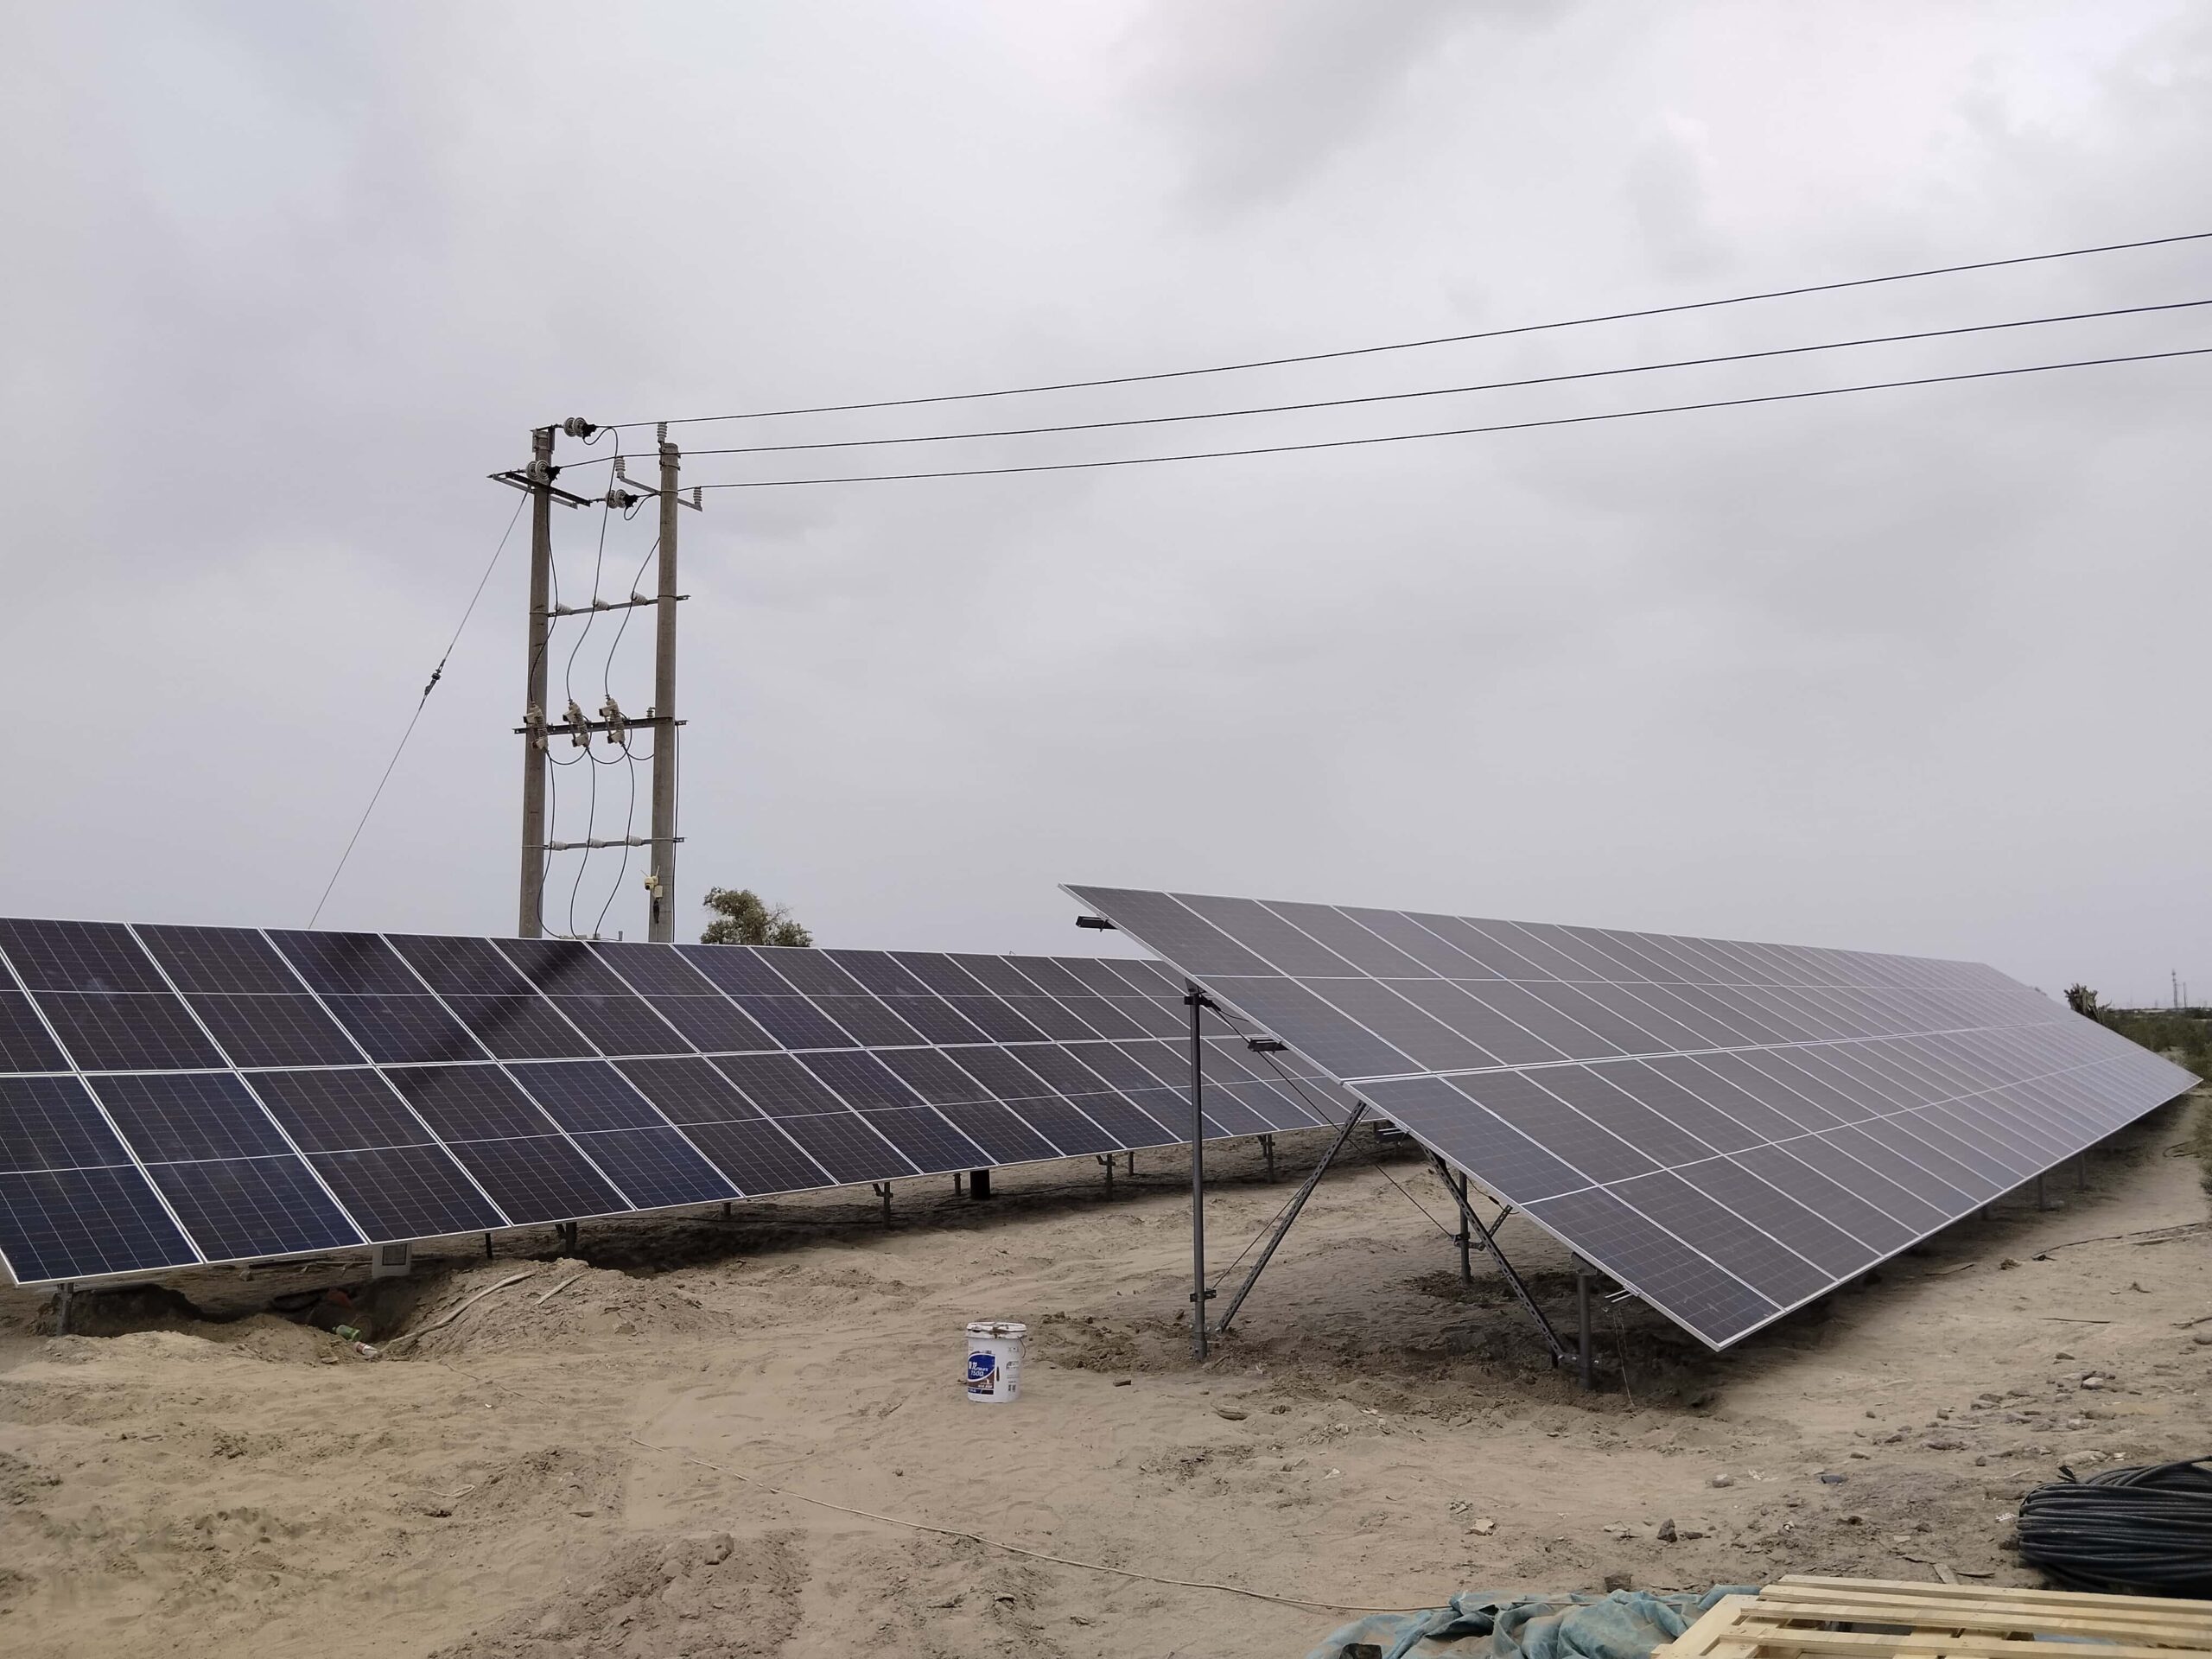
A field troubleshooting guide for installers, EPC teams, and distributors who need to separate hydraulic problems, wiring mistakes, PV input issues, and inverter faults.
If a solar pump starts but no water output appears, first check valves, water source, suction or inlet blockage, pump rotation, running current, output frequency, PV voltage under load, and any fault code. Do not replace the inverter first. The problem is often hydraulic, wiring-related, or caused by weak PV input.
Why a Running Pump Can Still Deliver No Water
A motor can run while the pumping system still fails to move useful water. That is why this symptom often causes arguments between the installer, pump supplier, and inverter supplier.
In the field, the dry outlet is only the visible result. The cause may sit in the pipe, check valve, suction side, well level, rotation direction, pump curve, cable run, or PV array. The inverter may only be reporting the condition it sees.
For a solar pumping project, the better approach is to treat no water output as a system symptom. Start with simple observations, then move toward electrical data and inverter parameters.
No Water Output Troubleshooting Table
Use this table before replacing the inverter or changing the wiring. It helps the site team separate hydraulic causes from electrical and solar input causes.
| Site symptom | Likely cause | What to check first | Field consequence if ignored |
|---|---|---|---|
| Pump starts, pipe outlet stays dry | Closed valve, blocked pipe, empty source, or wrong rotation | Valve position, water level, pipe route, and motor direction | Installer may replace good equipment without solving the water problem |
| Pump runs but current is very low | No real load, dry running, air lock, or reverse rotation | Running current, water source, inlet condition, and rotation response | Dry run risk and poor fault diagnosis |
| Pump starts then stops quickly | Protection trip, low PV power, overload, or wrong parameter | Fault code, DC voltage under load, output current, and protection setting | Repeated callbacks and unstable irrigation schedule |
| Water appears only near noon | PV voltage or power is too weak outside strong sunlight | Panel Voc, Vmp, string count, shade, cable length, and DC input range | Late start, short daily pumping window, and low tank filling |
| Water is weak after pump replacement | Pump curve does not match head, pipe loss, or flow demand | Total dynamic head, required flow, pipe route, and pump nameplate | Project may run but never meet the buyer’s water target |
First Checks Before Replacing the Inverter
Start with the water path. Confirm the source has enough water, the intake is not blocked, the check valve is not stuck, and the discharge valve is open. These checks sound basic, but they prevent many wasted site visits.
Next, read the inverter display. Record the output frequency, running current, DC voltage under load, and any fault code. A screen photo is often more useful than a short message saying “the inverter is bad.”
Motor direction matters as well. A three-phase pump may rotate the wrong way after wiring changes. Some pumps still make noise and vibration in reverse rotation, but the outlet water is weak or absent.
For new installations, compare your setup with a proper solar pump inverter installation guide. The goal is not to follow random wiring advice online. The goal is to confirm the system against the inverter manual, pump data, and local electrical codes.
Read the Fault Code, but Do Not Stop There
A fault code gives direction. It does not tell the whole story by itself.
For example, an under-voltage or sleep indication may point to weak PV input. Over-current may come from a blocked pump, wrong motor data, high head, poor cable condition, or incorrect acceleration settings. Dry-run protection may be correct if the well level dropped or the inlet is not flooded.
The useful question is this: does the inverter data match the site symptom? If current is almost zero, the motor may not be loaded. If current is high while no water comes out, check blockage, head, rotation, and pump curve before blaming the inverter.
Solar pump systems are not the same as grid-only pump systems. The Solarseeker solar pump inverter page explains the basic role of the inverter in PV input, motor control, and protection logic. That control logic is why fault data matters during troubleshooting.
When PV Input Is the Real Problem
A pump may start but fail to build useful water output when PV input is only barely enough. The motor receives some energy, but not enough stable power to reach the required speed and hydraulic duty point.
Panel count, panel Vmp, panel Voc, shade, temperature, and cable loss all affect the result. A string design that looks acceptable in strong sun may fail in the morning, under cloud, or with long DC cable runs.
Use these starting rules when checking panel matching, voltage window, weak output, sleep mode, or commissioning behavior.
| Pump system | PV array power starting rule | Useful Vmp target |
|---|---|---|
| 220V single-phase pump | PV Array Power >= Pump Rated Power x 2.0 | Around 320V DC Vmp |
| 380V three-phase pump | PV Array Power >= Pump Rated Power x 1.3 to 1.5 | Around 540V DC Vmp |
These rules are starting points, not a final design. The final PV string must still match the inverter DC input range, local temperature, panel Voc, cable distance, and pump load.
Check Head, Flow, and the Pump Curve
No water output can also come from the wrong hydraulic match. A pump can run, draw current, and still fail to overcome the real total head.
Well depth is not always total dynamic head. Pipe length, elbows, outlet height, pressure demand, and friction loss can raise the actual load. If the pump curve does not cover that duty point, the inverter cannot create water that the pump is not designed to deliver.
This is where installers should separate “motor is running” from “pump is working at the required duty point.” Solarseeker’s model selection guide is useful when the project needs a basic check of pump voltage, phase, head, flow, and product path before another site visit.
Field Scenario: The Motor Runs, the Outlet Stays Dry
A distributor receives a complaint after a farm installation. The inverter wakes up, the motor sound is normal, and the display shows output frequency. Still, the pipe outlet has no water.
The first message from the installer says only “pump starts but no water output.” That is not enough for remote troubleshooting. The supplier cannot know whether the pump is dry running, rotating backward, blocked at the inlet, operating outside the curve, or receiving weak PV input.
After the installer sends a pump nameplate photo, fault code photo, DC voltage under load, output current, and a short video of the outlet, the diagnosis becomes faster. In many cases, the next check is not a new inverter. It is the valve position, water level, rotation direction, or PV string data.
For larger 380V three-phase wells and irrigation pumps, the SP4 product path is often the safer direction. Even then, the final model check still needs pump nameplate data, head, flow, PV panel data, and site photos.
Safety Notes for Site Troubleshooting
Do not open cabinets, change phase wiring, bypass protection, or test live circuits without qualified personnel. Solar pump sites can involve high DC voltage, AC motor output, wet ground, and long cable runs.
Follow local electrical codes and the inverter manual. For general electrical hazard awareness, OSHA’s electrical safety reference is a useful neutral starting point, but local rules and trained technicians still come first.
Remote advice should not become unsafe step-by-step wiring work. Send data first, then let the responsible technician decide what can be checked on site.
Copy This Fault Report Message
Use this message when asking for remote support from Solarseeker or your distributor:
Hello, the solar pump starts but no water output appears. Pump power is [kW/HP], voltage is [220V/380V], phase is [single/three phase], and rated current is [A]. The inverter model is [model], fault code is [code or none], output frequency is [Hz], running current is [A], and DC voltage under load is [V]. PV panel data is [W, Voc, Vmp, quantity, string plan]. Site head is [m], required flow is [m3/h], cable distance is [m], and water source condition is [well/tank/suction source]. Attached are pump nameplate, inverter screen, PV string, valve, pipe outlet, and site photos.
FAQ
Can a solar pump start but produce no water?
It can happen. A solar pump may start while the system delivers no water because of a closed valve, blocked inlet, low water level, reverse rotation, weak PV input, wrong head and flow match, or protection settings. Treat it as a system symptom before replacing parts.
Should I replace the inverter first when there is no water output?
No. First record the fault code, DC voltage under load, output frequency, running current, pump nameplate, water source condition, and valve position. Replacing the inverter before these checks can waste time and leave the real problem on site.
Can wrong motor rotation cause no water output?
Wrong rotation can cause this on some three-phase pumps. The motor may run while water output is very weak or absent. The safe check depends on the pump type and manual, so use qualified technicians and follow local electrical rules.
Can weak sunlight cause no water output after the pump starts?
Weak sunlight can cause this when PV power or Vmp is too low. The inverter may wake up but fail to keep the pump near the speed needed for useful water. Check panel Vmp, Voc, series count, shade, cable loss, and DC voltage under load.
What data should I send for remote troubleshooting?
Send the pump nameplate, inverter model, fault code, output frequency, running current, DC voltage under load, PV panel Voc and Vmp, string plan, head, flow, cable distance, water source condition, and clear site photos.
Before You Replace Parts
A solar pump starts but no water output appears for many reasons. The most expensive mistake is to replace the inverter before checking water path, rotation, PV input, pump load, and fault data.
Send fault code, pump nameplate, PV panel Voc/Vmp, output frequency, running current, head, flow, cable distance, and site photos through the Solarseeker engineering contact page. We can help check whether the issue points to the pump, PV array, hydraulic load, wiring, or inverter selection.