
The first start-up is where small installation mistakes become visible. Use this checklist before blaming the inverter, the pump, or the PV array.
A solar pump inverter commissioning checklist should confirm PV input, pump nameplate data, motor voltage and phase, wiring status, motor direction, pump parameters, dry-run protection, valve position, water source condition, fault codes, and running current. First start-up should be done by qualified technicians following local electrical codes and the inverter manual.
The Pump Starts, but the Site Still Has a Problem
One of the most common first-start complaints is simple: the pump runs, but no water arrives.
That does not always mean the inverter is faulty. It may be a reversed motor direction, a closed valve, wrong pump parameters, low water level, air in the pipe, a blocked outlet, or a dry-run setting that was never checked.
Commissioning is not only a power-on test. It is a controlled inspection of the whole pumping path: PV input, inverter output, motor data, pump rotation, hydraulic condition, protection settings, and real running behavior.
If the project is still in installation planning, Solarseeker’s solar pump inverter installation guide is the better starting point. This article focuses on the moment after wiring, when the installer is ready to test water output.
For product matching before commissioning, the Solarseeker solar water pump inverter page gives the main inverter path. The commissioning checklist then confirms whether the installed system behaves as expected on site.
First-Start Commissioning Checklist
| Check item | What to confirm | Why it matters at first start-up |
|---|---|---|
| Pump nameplate | Power, voltage, phase, current, frequency, and motor type | Wrong motor data can lead to wrong parameters or overload trips |
| Inverter model | Output voltage, current capacity, and application fit | Prevents using the wrong model for the pump |
| PV input | DC voltage, polarity, string count, and available sunlight | Avoids late start, sleep mode, or input fault diagnosis errors |
| Wiring status | AC output, DC input, PE grounding, terminals, and cabinet layout | Reduces loose-terminal, phase, and safety risks |
| Motor direction | Pump rotation direction or water output response | Reverse rotation can make the pump run without useful water |
| Pump parameters | Rated current, frequency range, acceleration, and protection values | Helps the inverter protect the motor correctly |
| Water source | Well level, intake condition, suction condition, or tank level | Prevents dry running and false fault diagnosis |
| Valve and pipe path | Open valves, filled pipe, outlet condition, and blockage risk | A running pump may still deliver no water |
| Dry-run protection | Sensor status or protection logic based on the selected design | Avoids pump damage when water is missing |
| Running data | Output frequency, current, DC voltage, fault code, and water output | Gives evidence for troubleshooting instead of guessing |
This table should be used before and during the first run. It is not a substitute for the inverter manual, pump manual, or local electrical rules.
Check PV Input Before Reading the Fault Code
PV input is the first electrical condition to confirm.
Measure and record the DC input voltage before start-up. Confirm polarity, string count, connector condition, and sunlight condition. If the inverter stays asleep, starts late, or trips immediately, the PV side may be part of the problem.
Do not judge the system only by open-circuit voltage. A PV array may look acceptable when unloaded, then drop under pump load. Shade, weak sunlight, wrong string design, dirty modules, or poor connectors can all affect first-start behavior.
For this reason, commissioning notes should include both measured voltage and site condition. “Voltage checked” is too vague. The engineer needs the actual value, time of day, sunlight condition, and whether the pump was running when measured.
Match the Motor Data Before Running the Pump
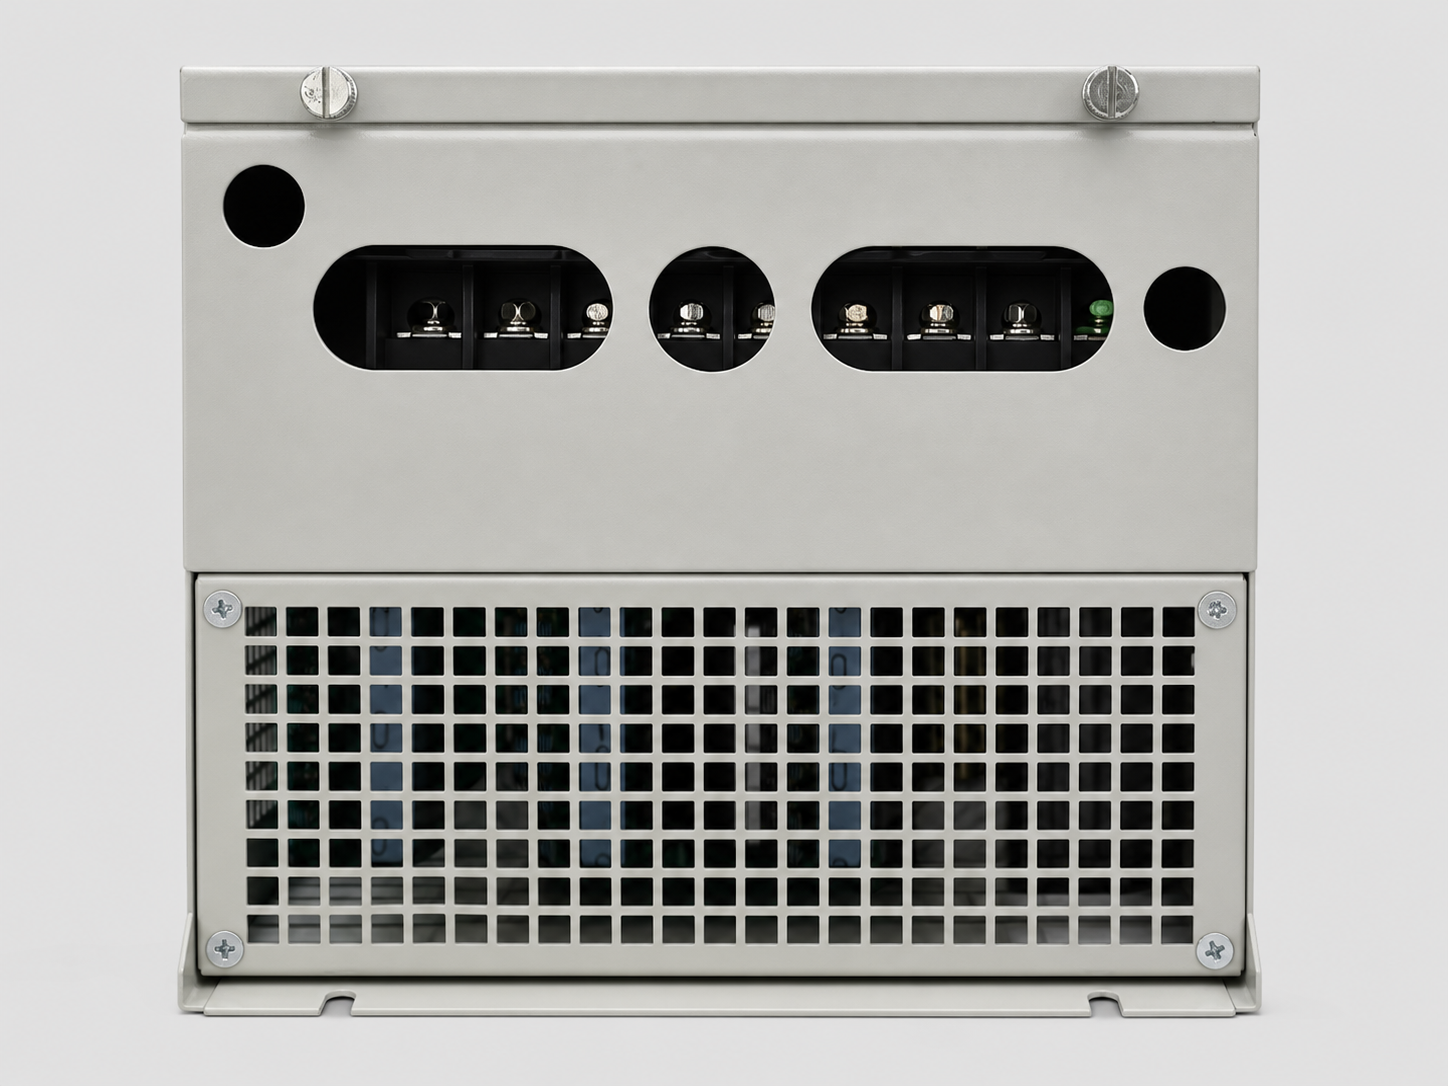
The inverter must be set to the motor, not only to the pump power.
Start with the nameplate. Confirm rated voltage, phase, rated current, rated frequency, and motor type. Then compare those values with the inverter settings and selected product path.
For larger 380V three-phase irrigation or deep-well systems, the SP4 solar pump inverter path is often used. Even then, the final setup still depends on the pump nameplate, rated current, PV design, and site conditions.
Do not copy parameters from another site without checking the motor. Two pumps with the same kW rating can have different rated current, frequency, head, flow, and protection needs.
If the current limit is wrong, the inverter may trip too early or fail to protect the motor correctly. If the frequency range is wrong, the pump may run outside the expected duty range. Small parameter errors can become large service problems after the installer leaves.
Motor Direction Is a First-Start Check, Not a Later Detail
If a three-phase pump runs but produces little or no water, check motor direction early.
Reverse rotation can make the pump sound active while hydraulic output stays weak. This is one reason installers sometimes think the inverter is running but the pump is “not working.”
The correct check depends on the pump type, site access, and manufacturer guidance. For some systems, water output response is the practical sign. For others, the pump or motor documentation gives a direction mark or test method.
Do not change wiring casually. Motor direction checks and any phase changes should be handled by qualified technicians following the inverter and pump manuals. Record what was changed, because later support depends on accurate commissioning history.
When the Pump Runs but No Water Comes Out
No water output after first start-up should be treated as a system symptom, not a single-component verdict.
Check the simple hydraulic conditions first. Start with the valve position. Then confirm whether the pipe is filled, the suction path is correct, and the water level is high enough. A blocked outlet, air lock, or closed irrigation zone can also stop water even when the motor is running.
Then check electrical behavior. Record output frequency, running current, DC voltage under load, and any fault code. If current is low, the pump may not be loaded or may be rotating incorrectly. If current is high, the pump may be overloaded, blocked, or operating outside its normal condition.
The useful question is not only, “Does the inverter run?” The better question is, “What does the pump do when frequency, current, water path, and motor direction are checked together?”
For troubleshooting after first start-up, the Solarseeker quick field guide for common solar water pump inverter errors can help organize fault codes and site evidence before support review.
Field Example: Running Motor, No Water Output
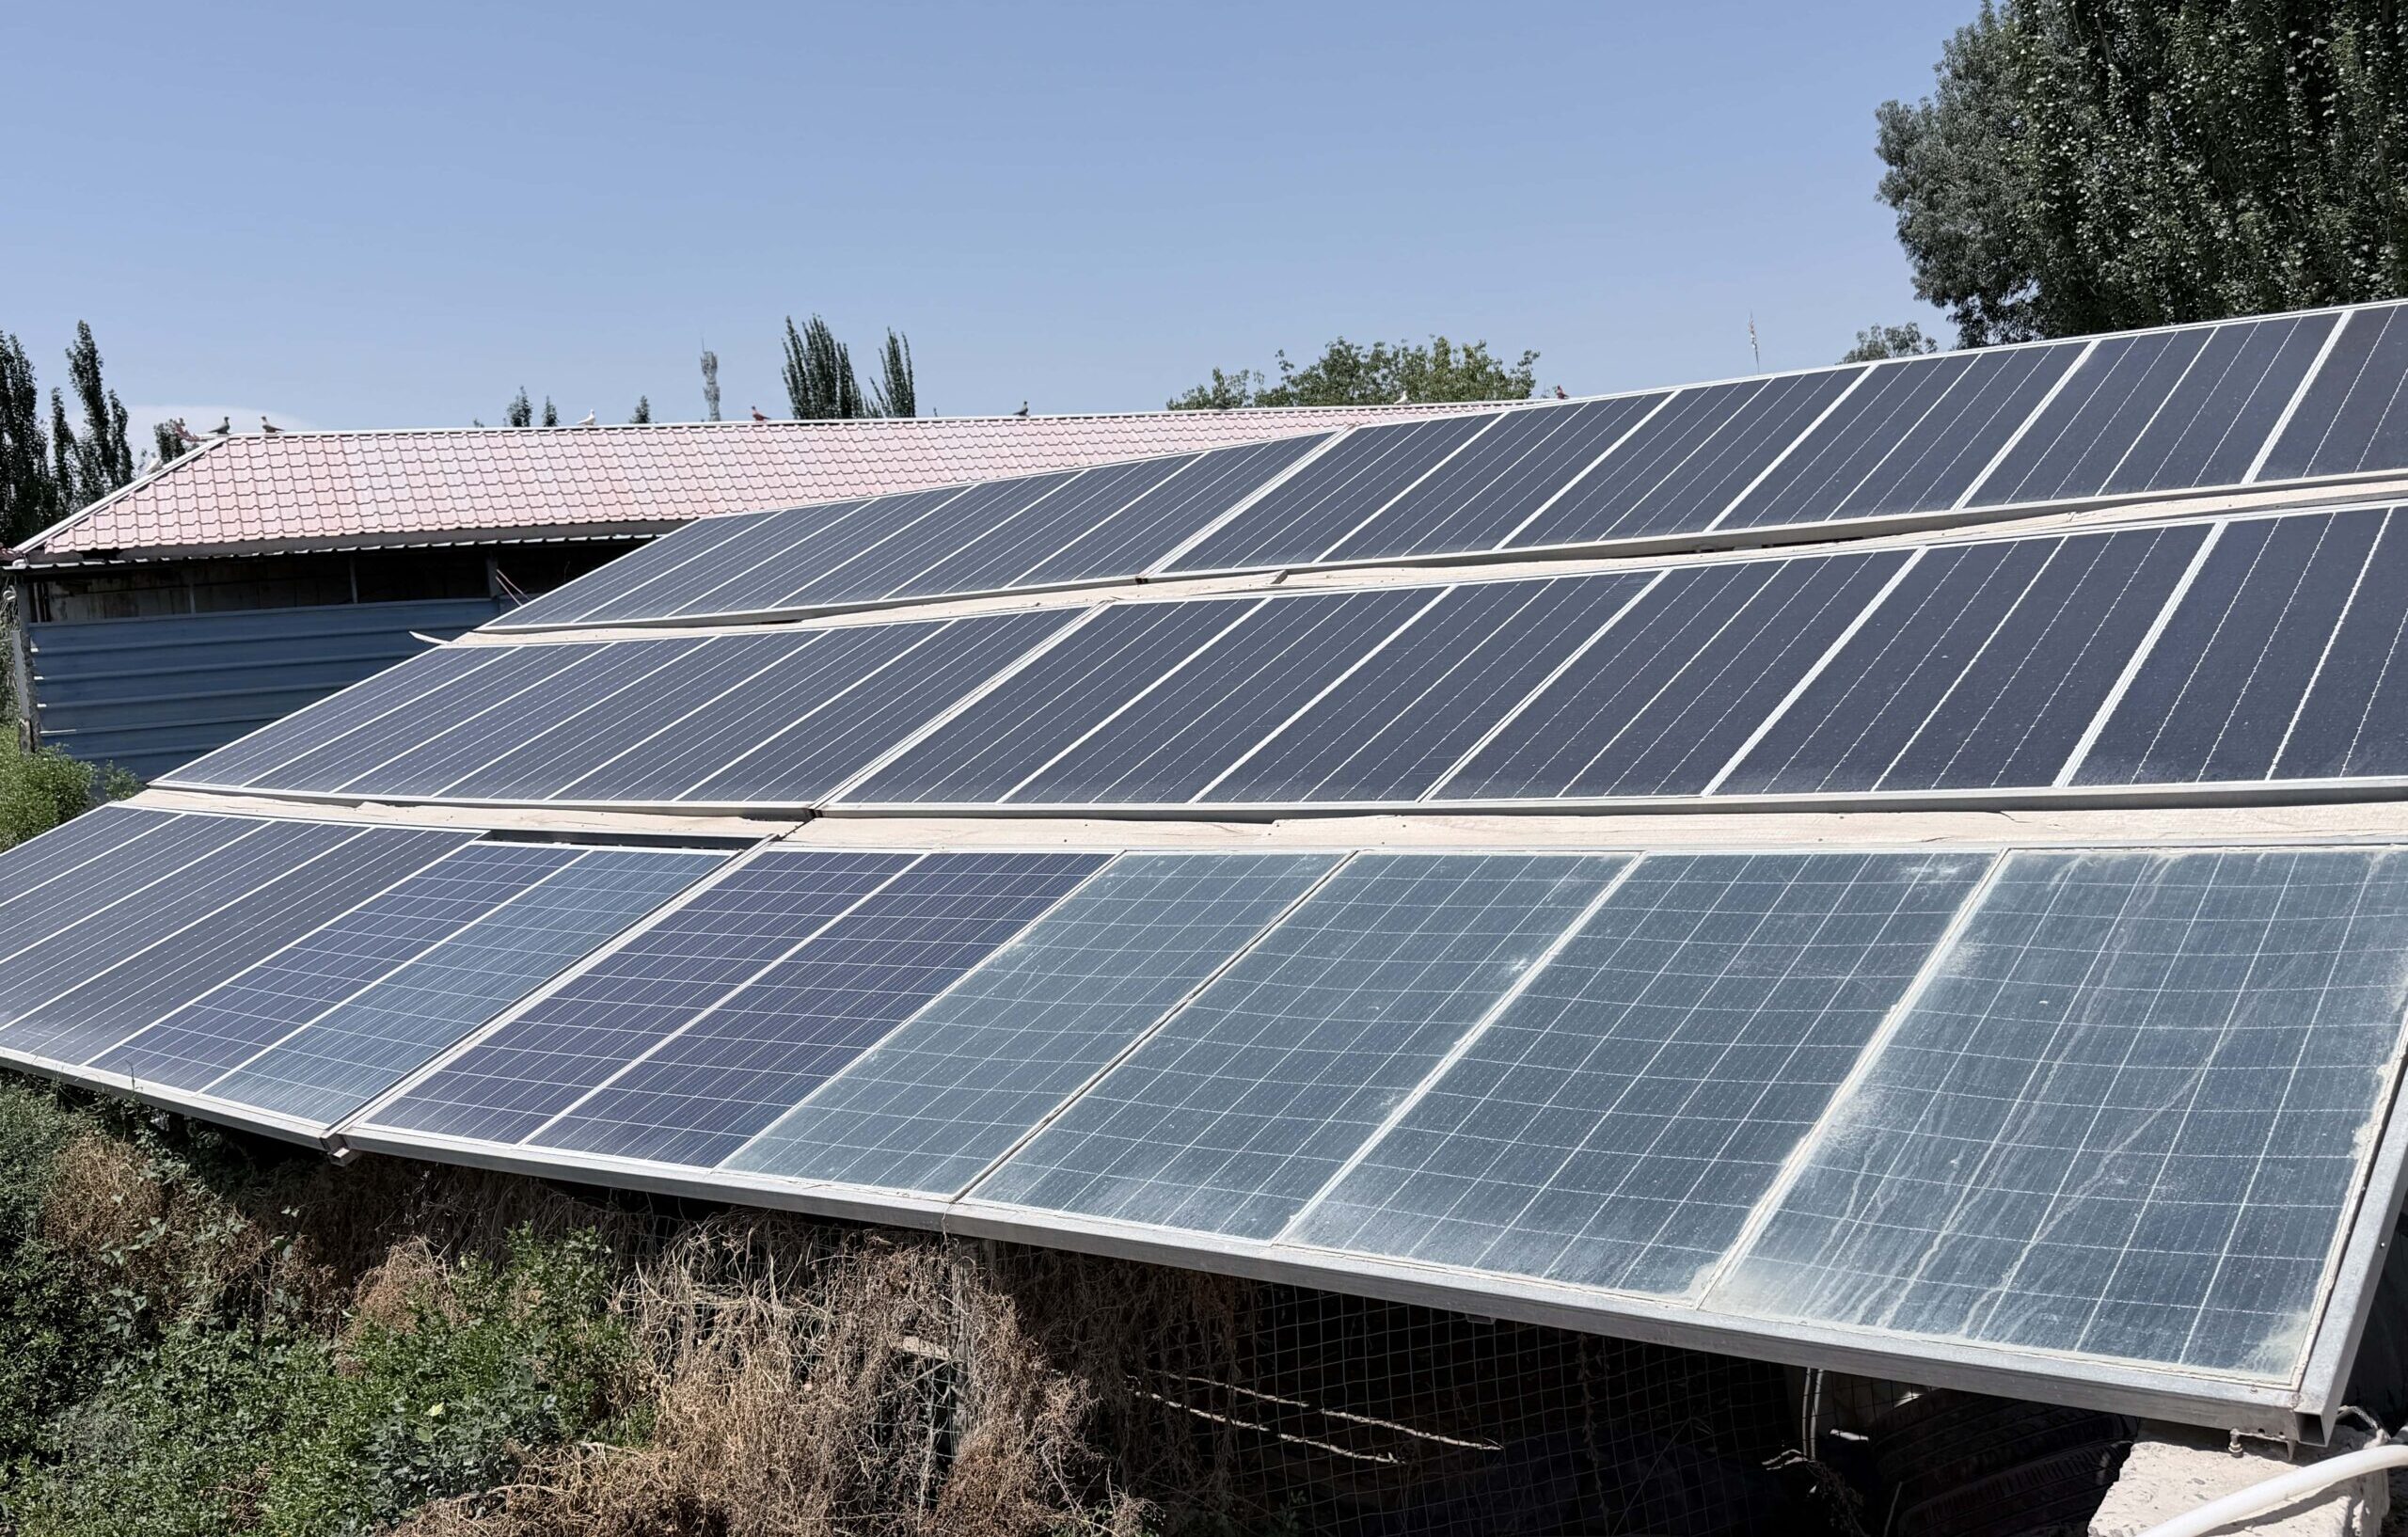
An installer powers on a new solar pump inverter system. The inverter starts, the motor runs, and the site team hears movement from the pump area. However, no water reaches the outlet.
At first, the team suspects the inverter. After checking the commissioning data, the problem looks different. The motor direction was not confirmed, the valve position was unclear, and no running current data was recorded.
Once direction and hydraulic path are checked, the support conversation becomes much easier. The issue may still need a technician on site, but the team is no longer guessing blindly.
This is why first start-up should be documented. A short commissioning record can save hours of back-and-forth later.
Safety Notes Before First Start-Up
This stage involves live electrical equipment, rotating machinery, water, and outdoor site conditions.
Follow local electrical codes, pump manuals, inverter manuals, and site safety rules. Use qualified electricians or trained technicians for wiring checks, grounding checks, parameter setup, direction checks, and commissioning.
Do not bypass protection settings just to force water output. Dry-run protection, overload protection, grounding, and correct wiring exist because pump sites can fail in expensive ways.
FAQ
What should I check before starting a solar pump inverter for the first time?
Check the pump nameplate, inverter model, PV input voltage, polarity, wiring, grounding, motor parameters, motor direction, water source, valve position, dry-run protection, and the expected running data.
Why does the pump run but no water comes out?
Possible causes include reverse motor direction, closed valve, blocked outlet, air in the pipe, low water level, dry-run protection, wrong parameters, or a pump operating outside the expected hydraulic condition.
What commissioning data should I record?
Record PV voltage, output frequency, running current, fault code, pump nameplate data, inverter model, parameter changes, water output condition, motor direction result, and the time and sunlight condition during testing.
Should I change motor wiring if the pump has no water output?
Do not change wiring casually. Direction checks and any wiring changes should be handled by qualified technicians using the inverter manual, pump manual, and local electrical rules.
Which settings matter most during first start-up?
Rated motor current, voltage, phase, frequency range, acceleration behavior, dry-run protection, overload protection, and any application-specific pump protection settings matter most during first start-up.
What to Send for a Commissioning Review
Before replacing parts or changing wiring, collect the evidence.
Send the pump nameplate, inverter model, PV string data, DC voltage, output frequency, running current, fault code, motor direction result, water source condition, valve status, and photos of the cabinet and site.
If you need Solarseeker to review the first start-up issue, share fault code and commissioning data. Clear data makes it easier to separate parameter issues, wiring issues, PV input problems, and hydraulic problems.