
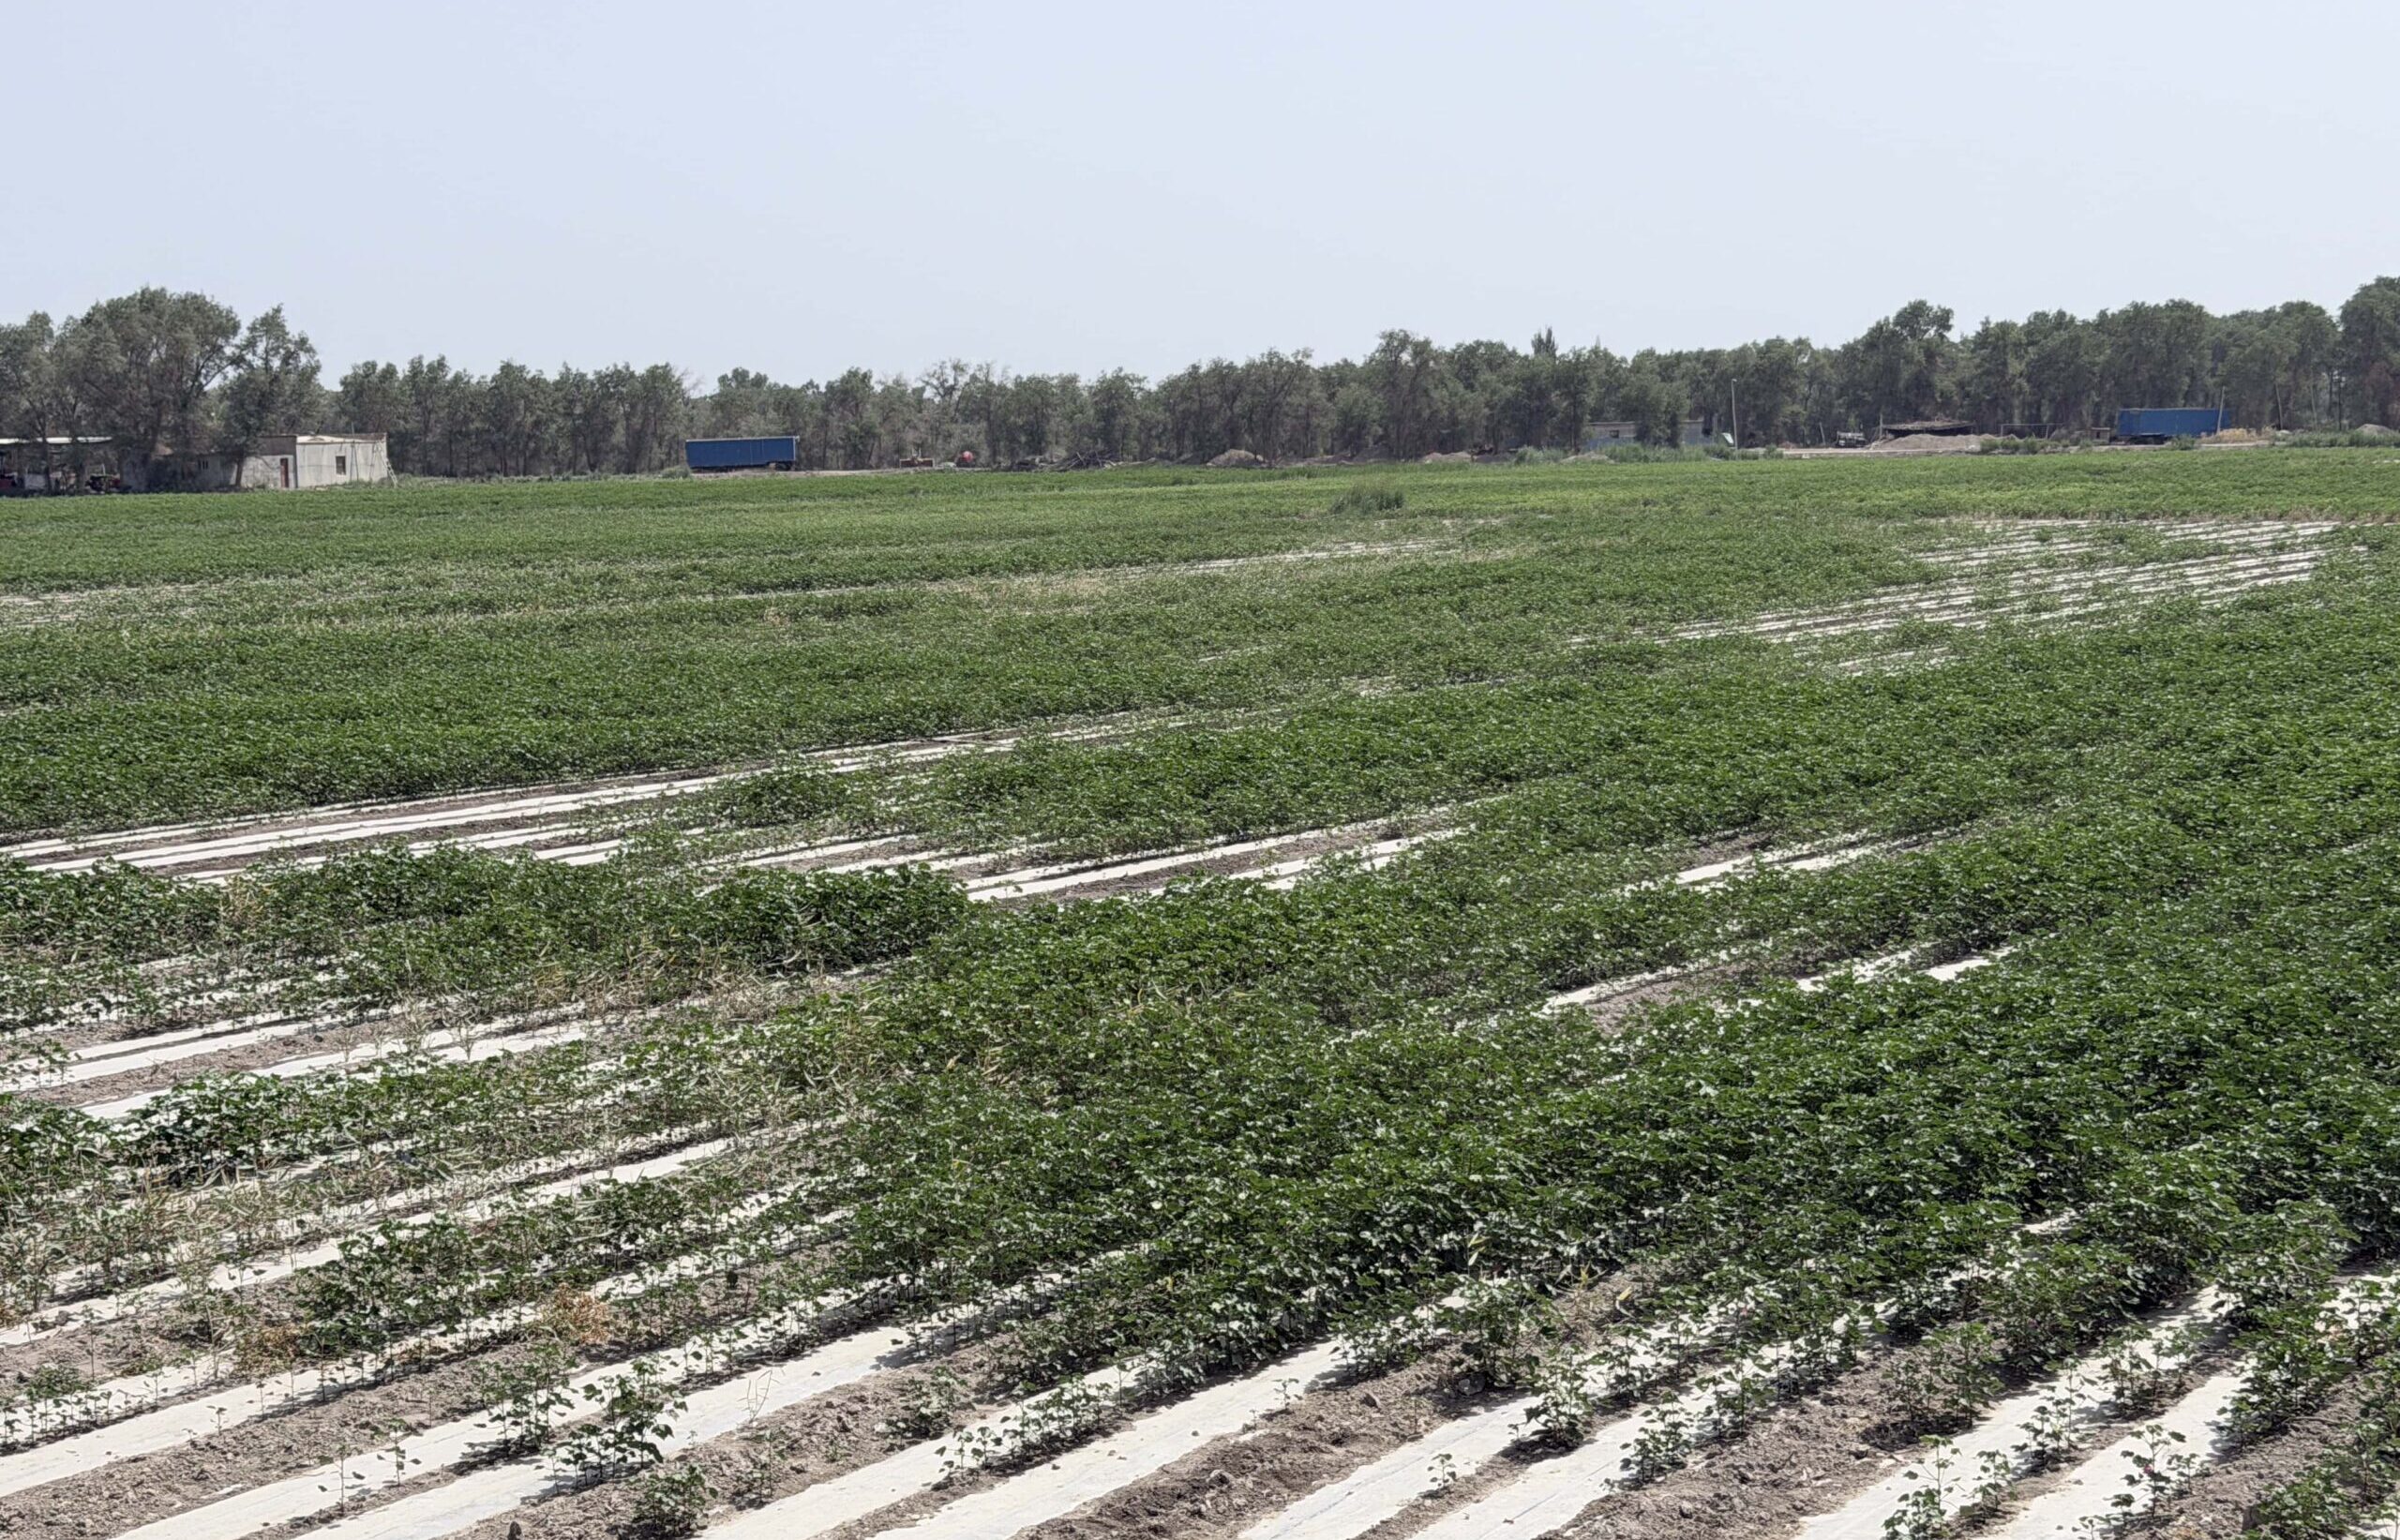
Grounding and cable choice decide whether a solar pump inverter installation stays stable after the cabinet door is closed.
Solar pump inverter grounding should follow local electrical codes, connect the inverter, motor, cabinet, PV frame, and protection devices to a proper protective earth system, and use cables sized for current, distance, voltage drop, heat, and installation environment. Poor grounding or undersized cables can cause trips, weak output, heating, or safety risk.
The Problem Often Shows Up After Commissioning
An inverter can pass a quick startup test and still fail later.
The pump may run at noon, then trip during high load. The motor cable may feel warm. The inverter may show current fluctuation, leakage alarms, or random faults. In other cases, the system runs, but water output is weaker than expected.
These symptoms are easy to blame on the inverter. In the field, cable distance and grounding are often part of the real problem.
A solar pump inverter is not only a control box. It is part of an electrical system that includes PV strings, AC output, motor cables, protection devices, cabinet grounding, pump body, and the site earthing condition. If one part is weak, the whole system becomes harder to diagnose.
For installation planning, start with the solar pump inverter installation guide and treat grounding and cable distance as design items, not final-site details.
Cable and Grounding Risk Table
| Installation item | What to check | Field risk if ignored |
|---|---|---|
| Protective earth connection | Inverter PE terminal, cabinet body, motor frame, pump body, PV frame, and site earth path | Electric shock risk, unstable protection behavior, or failed inspection |
| Grounding continuity | Whether all required metal parts have a reliable earth path | Floating metal parts and harder fault diagnosis |
| Cable current rating | Motor current, inverter output current, ambient temperature, and installation method | Cable heating, insulation stress, and nuisance trips |
| Cable distance | Distance from inverter to pump and from PV array to cabinet | Voltage drop, weak motor torque, and higher running current |
| Cable insulation rating | DC side, AC output side, outdoor exposure, water, heat, and UV conditions | Insulation aging, leakage faults, or unsafe operation |
| Cable routing | Separation from sharp edges, heat sources, moving parts, and water entry points | Mechanical damage and intermittent faults |
| Terminal tightening | Correct lug, clean conductor, and checked torque by qualified personnel | Hot terminals, voltage loss, and burned connection points |
| Surge and lightning protection | Site exposure, grounding path, SPD selection, and cabinet layout | Higher damage risk during storms or switching events |
| Long motor cable behavior | Output cable length, motor current, shielding needs, and local EMC requirements | Overheating, noise, or unstable motor operation |
| Documentation | Wiring diagram, cable length, cable size, grounding point, and photos | Difficult after-sales support and slow troubleshooting |
This table is a screening tool. Final cable size and grounding details should be checked against the inverter manual, local standards, and site conditions.
Grounding Is a Protection System, Not a Symbol
Grounding is sometimes treated as one wire connected to one rod. That is too simple for a pump project.
A proper grounding plan gives fault current a controlled path. It also helps protective devices work as intended. In outdoor pumping sites, it can reduce risk from insulation faults, cabinet leakage, induced voltage, and surge events.
The inverter PE terminal should not be left floating. The cabinet should not rely on paint, hinges, or loose mounting screws as the only earth path. PV module frames and metal mounting structures may also need bonding, depending on the system design and local code.
For submersible pumps, the motor and pump sit in a harsh environment. Cable glands, splices, waterproof joints, and earth continuity all matter. A small mistake may not stop the pump on the first day, but it can create a service call after moisture, heat, and vibration have worked on the system.
Grounding design must be handled by qualified people. The supplier can review drawings and photos, but the installer must follow local electrical regulations on site.
Cable Selection Starts With Current and Distance
Do not choose cable only by pump power.
The cable must carry the real current under expected site conditions. It must also keep voltage drop within a practical range. Long distance changes the job. A cable that works beside the cabinet may become risky when the pump is far from the inverter or deep inside a well.
Voltage drop depends on current, conductor resistance, and cable length. In plain terms:
| Factor | What it means in the field |
|---|---|
| Higher current | More heating and more voltage loss if the cable is too small |
| Longer cable run | More resistance between the inverter and the motor |
| Smaller conductor | Higher resistance and more heat under load |
| Higher ambient temperature | Less thermal margin for the cable |
| Poor terminals | Local heating even when the cable size looks acceptable |
The inverter can control frequency and protect the motor, but it cannot remove cable resistance. Long cable runs must be included in the design before installation.
This is especially important for larger 380V three-phase irrigation and deep-well projects. When the project uses the SP4 solar pump inverter path, cable distance, motor current, and cabinet position should be checked together before final wiring.
Where Voltage Drop Becomes a Water Problem
Voltage drop is not only an electrical number. It changes pump behavior.
If the motor receives weak voltage under load, torque can suffer. The motor may draw higher current. The inverter may limit output, trip, or show unstable running behavior. Even when the pump keeps running, water output can drop.
The problem can be worse during weak sunlight or high load. A site may look normal during a quick noon test, then fail when water demand rises or sunlight changes.
This is why cable length should be sent before model review. The supplier needs to know the distance from PV array to cabinet, from cabinet to pump, and whether the cable route is buried, exposed, inside conduit, or near heat sources.
The wiring logic in a solar pumping project is easier to check when drawings are available. If you are comparing common layouts, use the solar pump inverter wiring diagram guide as a reference point before the installer builds the cabinet.
Field Example: Long Cable Run After Installation
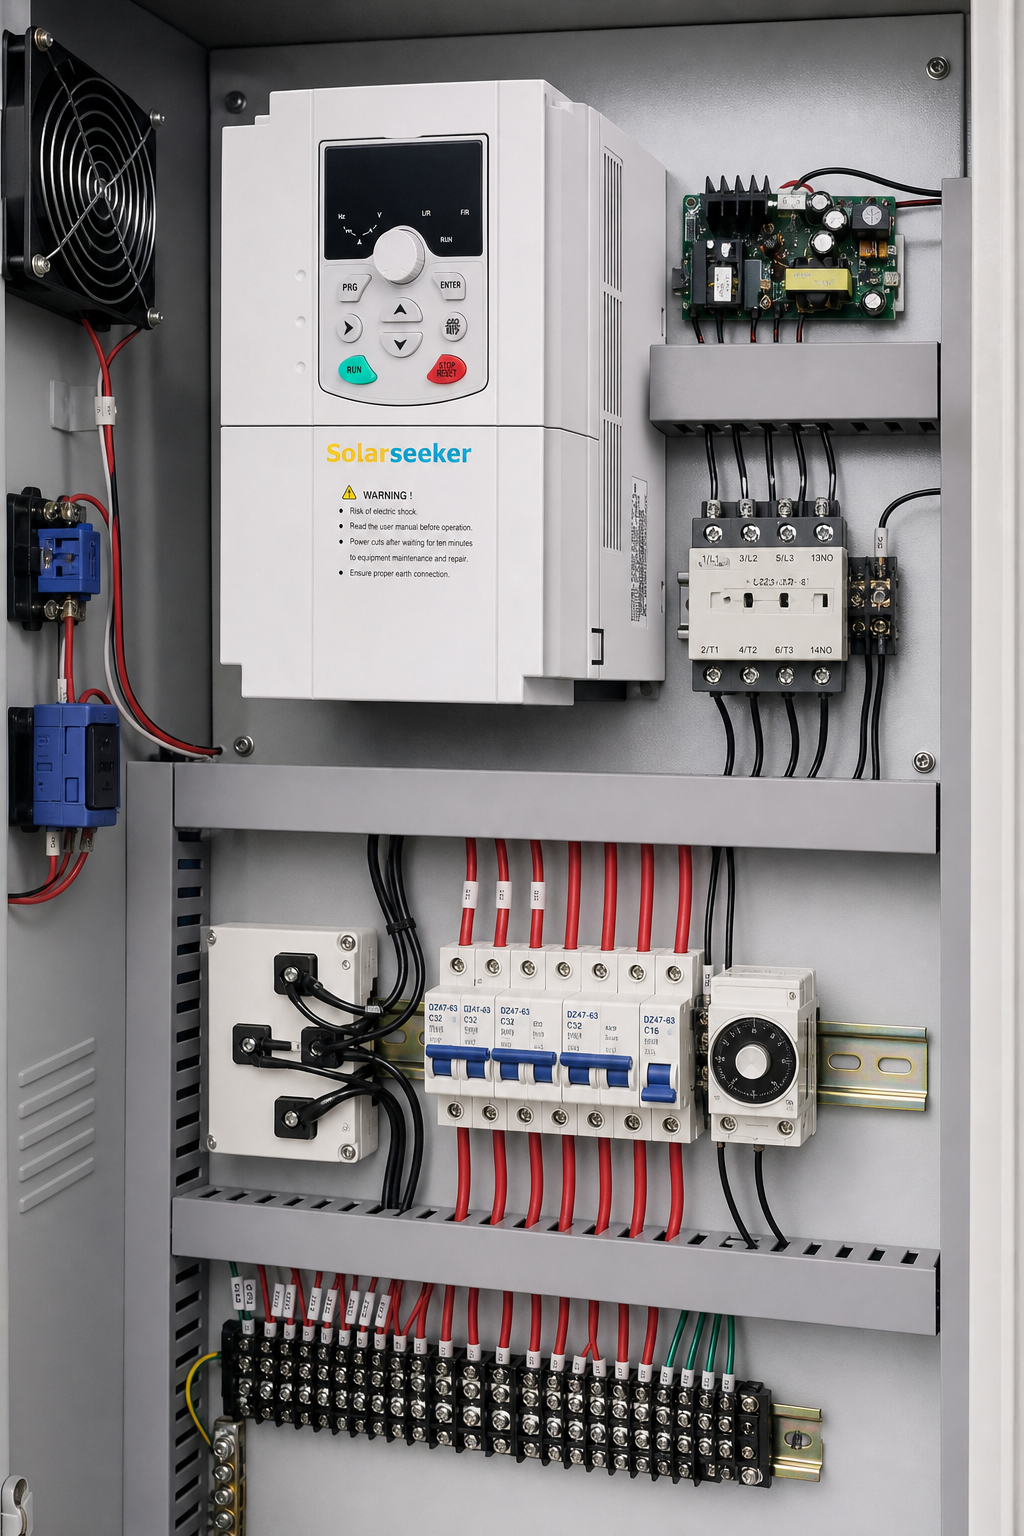
An EPC team installs a solar pump inverter near the PV array to reduce DC cable distance. The pump is far from the cabinet, so the AC motor cable becomes much longer than first expected.
During commissioning, the pump starts. At first, the team thinks the system is fine. Later, under stronger load and longer running time, the cable warms up and the inverter current becomes unstable.
The issue is not only inverter size. The long motor cable, voltage drop, terminal condition, and actual pump current all need review. Earlier cable-distance data could have helped the team check cabinet position and cable size before installation.
This kind of problem is frustrating because the equipment may not look wrong on paper. The site layout changed the electrical result.
What to Send Before Wiring Review
For a practical review, send more than one photo.
Include the pump nameplate, inverter model, motor rated current, cable distance, cable size, cabinet photo, grounding point photo, PV array layout, and wiring diagram. If the system already has a fault, add the fault code, running current, DC input voltage, and when the problem appears.
For product selection and general inverter matching, the Solarseeker solar water pump inverter page gives the main inverter path. For installation questions, the engineer still needs site data. A product page cannot replace measured distance, cable route, and grounding photos.
Also mention the installation environment. A cable in open air, underground conduit, a hot cabinet, or a wet well area does not face the same risk. The insulation type and protection method should fit the site.
Safety Note for Grounding and Cable Work
Grounding and cable selection are safety-sensitive tasks.
Follow local electrical codes, inverter manuals, pump motor requirements, and inspection rules. Use qualified electricians or trained technicians for wiring, grounding, terminal work, protection devices, and commissioning checks.
Do not change grounding, cable size, protection devices, or motor wiring based only on a blog article. Use this guide to prepare the right questions and data before engineering review.
FAQ
Why does grounding matter for a solar pump inverter?
Grounding helps provide a controlled fault path, supports protective device operation, and reduces safety risk from metal cabinets, motor frames, PV structures, and outdoor electrical equipment. It should follow local electrical codes.
Can cable distance affect solar pump output?
Yes. Long cable runs increase resistance and voltage drop. With undersized cable or poor terminals, the motor may receive weak voltage, draw higher current, heat the cable, or deliver lower water output.
Is pump power enough to choose cable size?
No. Cable selection also needs motor current, cable distance, voltage drop target, installation method, ambient temperature, insulation rating, and local code requirements.
Who should wire and ground a solar pump inverter?
A qualified electrician or trained technician should handle wiring and grounding. The supplier can review inverter model, drawings, cable distance, and photos, but local code compliance must be handled on site.
What should I send before asking for a cable and grounding check?
Send the pump nameplate, inverter model, motor rated current, cable distance, cable size, cabinet photo, grounding photo, PV layout, wiring diagram, fault code if any, and running current measurements.
Ask for an Engineering Check Before Changing Wiring
Before the installer changes cable size, cabinet position, grounding, or motor wiring, collect the site data first. Distance, current, routing, terminal condition, and grounding photos make the review much faster.
If you want Solarseeker to check the installation risk, ask an engineer to check cable distance and site wiring. Send the pump nameplate, inverter model, cable route, cable size, grounding photos, wiring diagram, and fault details if the system is already running.