
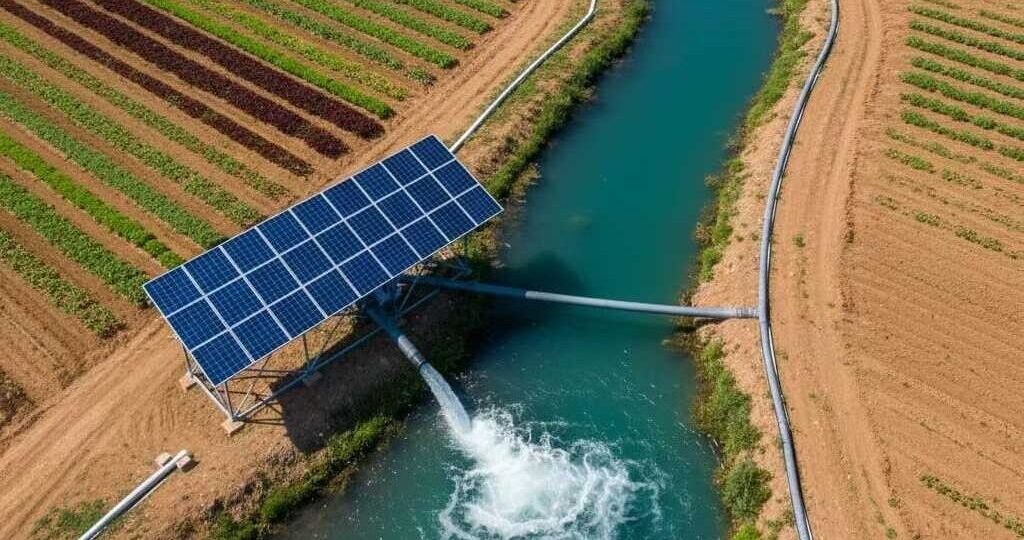
Panel matching is not just adding enough watts; the PV string must give the inverter the right voltage window under real site conditions.
Many solar pump problems start with a simple mistake: the buyer matches panel power to pump power and forgets voltage. The pump may run at noon but start late, stop in clouds, or trip when cold-weather Voc rises too high.
When I check a solar pumping quotation for Solarseeker customers, I usually ask for the pump nameplate and panel datasheet before discussing price. That habit prevents many wrong purchases. To match solar panels with pumps, start with pump voltage, phase, rated current, inverter input range, PV power, Vmp, Voc, temperature, cable distance, and daily water target.
A solar pump inverter can only perform well when the PV array feeds it correctly. Too little voltage causes weak operation. Too much voltage can damage the DC input. Too little power reduces daily water output.
The Two Rules Buyers Usually Need First
| Pump system | PV array power starting rule | Useful Vmp target |
|---|---|---|
| 220V single-phase pump | PV Array Power >= Pump Rated Power x 2.0 | Around 320V DC Vmp |
| 380V three-phase pump | PV Array Power >= Pump Rated Power x 1.3 to 1.5 | Around 540V DC Vmp |
These rules are starting points. They do not replace the inverter datasheet. Final panel matching must check the allowed DC input range, maximum DC voltage, MPPT range, local temperature, and cable length.
Power Matching and Voltage Matching Are Different
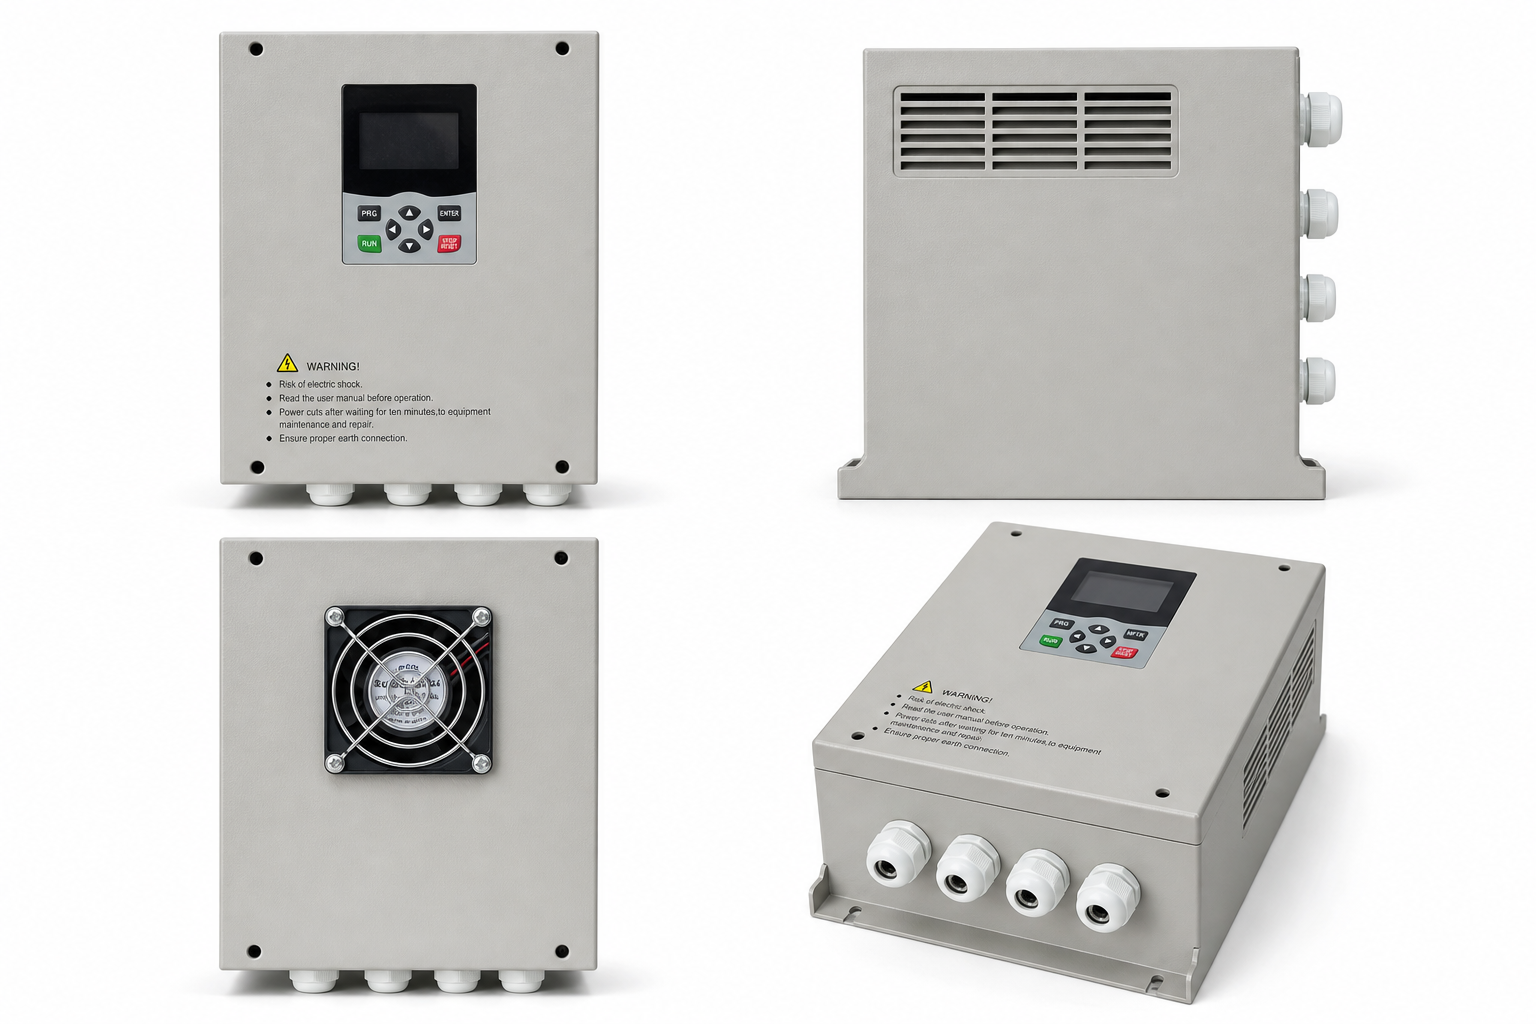
Panel power tells you how much solar energy the array can provide. Voltage tells you whether the inverter can wake up, track power, and run the pump smoothly. A system can have enough watts and still fail because Vmp is too low.
For example, a 2.2kW pump may need much more than 2.2kW of panel power, especially for 220V single-phase systems. If the panel string does not reach a useful Vmp, the inverter may start late in the morning and stop early in the afternoon. The customer sees fewer pumping hours, not just a smaller number on a datasheet.
Vmp Helps the Pump Work; Voc Protects the Inverter
Vmp is the voltage at the panel's maximum power point. It is the useful operating voltage. Voc is the open-circuit voltage. It appears when the array is not loaded and rises in cold weather.
This is where many panel plans become risky. A string that looks safe in a hot region may exceed the inverter's maximum DC input in cold weather. Always check cold-weather Voc before finalizing the number of panels in series.
| PV value | Why it matters | Field problem if ignored |
|---|---|---|
| Panel wattage | Supports daily energy and water output | Short pumping time |
| Vmp | Helps inverter operate in useful voltage range | Late start and weak flow |
| Voc | Defines highest no-load voltage | Over-voltage alarm or damage risk |
| Temperature coefficient | Shows voltage change in heat or cold | Wrong string count |
| Cable distance | Affects voltage drop and installation cost | Weak operation and extra copper cost |
Common Matching Mistakes
- Counting panel watts but ignoring Vmp.
- Not checking cold-weather Voc against inverter maximum DC input.
- Using many small panels and increasing rails, clamps, wiring points, and crew time.
- Ignoring voltage drop on long DC cable runs.
- Choosing the inverter before reading pump voltage and phase.
- Assuming a pump will deliver rated flow without checking head and pipe loss.
A cheaper panel choice can become more expensive after mounting rails, clamps, combiner work, and installation labor are counted. This is why panel matching is also a cost-control task.
Model Path by Pump Type
For smaller 220V single-phase pump systems, review the SP1 path. For larger 380V three-phase pumps, check the SP4 path with pump rated current, head, flow, and PV string plan.
The inverter model should be selected after the pump is understood. Rated current matters as much as rated power. A pump operating at a difficult duty point may draw more current than expected.
A Practical Matching Sequence
- Read the pump nameplate: power, voltage, phase, frequency, and rated current.
- Confirm head, flow, water source, pipe route, and daily water target.
- Select the inverter model based on output voltage, phase, power, and current.
- Choose panel series count to reach useful Vmp.
- Check cold-weather Voc against the inverter maximum input limit.
- Add enough PV power for morning, afternoon, and weak sunlight.
- Review cable distance, combiner design, grounding, and local electrical rules.
How to Check a Panel Datasheet Quickly
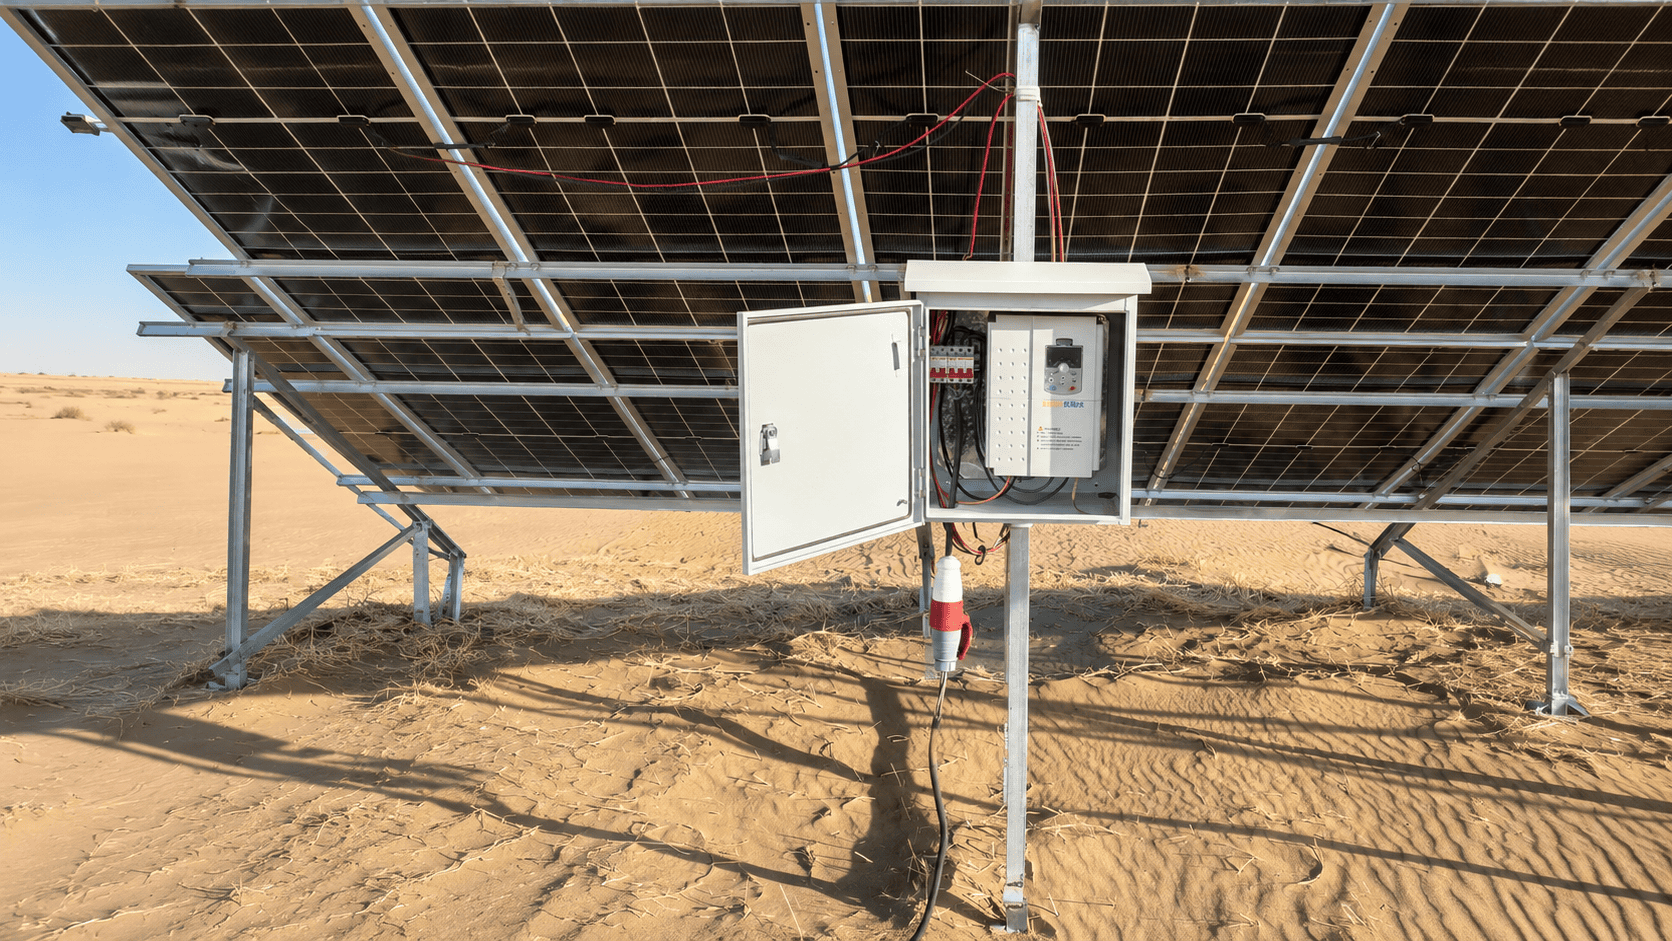
Look for rated power, Vmp, Voc, current at maximum power, short-circuit current, and temperature coefficient. Do not rely only on the panel wattage printed in large text. The smaller electrical values decide string design.
If the buyer cannot provide a panel datasheet, the quotation is not ready. Guessing panel voltage is one of the fastest ways to create a callback after installation.
Example Logic for a 220V Single-Phase Pump
For a 220V single-phase pump, the PV array usually needs a higher power margin. The starting rule is PV Array Power >= Pump Rated Power x 2.0, with useful Vmp around 320V DC. This does not mean every project uses the same panel count. It means the panel string should be designed around the inverter input range and the panel datasheet.
If the buyer only matches wattage, the system may have enough panel area but weak operating voltage. The field result is late startup and poor flow in the morning. Installers often blame the inverter, but the real issue is the PV string.
Example Logic for a 380V Three-Phase Pump
For a 380V three-phase pump, the starting rule is PV Array Power >= Pump Rated Power x 1.3 to 1.5, with useful Vmp around 540V DC. This type of system often appears in deep wells and larger irrigation projects, so pump current and duty point must be checked carefully.
A three-phase pump can look correct by kilowatt rating but still overload if the head is higher than expected, the pipe route is long, or the water source contains sand. Panel matching should be reviewed together with pump matching.
Commissioning Checks After Installation
After the system is installed, do not only check whether the pump runs once at noon. Record startup time, PV voltage, output frequency, motor current, water flow, and any alarms. A system that runs at noon but fails in the morning is not fully commissioned.
This is where a short Solarseeker-style field check helps: compare the design sheet with real readings. If the readings do not match the design, fix the cause before handing the project to the customer.
FAQ
Can I match solar panels to a pump by wattage only?
No. Wattage is only one part. You must also check Vmp, Voc, inverter input range, pump voltage, pump phase, and site temperature.
Why does a solar pump start late even with enough panels?
The PV string may have low Vmp, shading, long cable voltage drop, or insufficient morning irradiance. The inverter needs enough useful voltage and power to run the pump.
Can I add more panels to get more water?
Sometimes, but only within the inverter's allowed voltage and current range. Adding panels without checking Voc can create over-voltage risk.
Product Path After Panel Matching
After the panel string is checked, choose the inverter path from the pump side. Small 220V single-phase pumps usually start with SP1. Larger 380V three-phase irrigation and deep-well pumps usually start with SP4. If the pump data is incomplete, use the solar pump selection guide before ordering panels.
Which Solarseeker model path should I check after panel matching?
Use SP1 for many 220V single-phase pump projects and SP4 for many 380V three-phase irrigation or deep-well projects. Final selection still depends on pump current, head, flow, and PV string voltage.
Before You Buy Panels
Send the pump nameplate, panel datasheet, local temperature range, cable distance, head, flow, and target water output to Solarseeker. A correct panel plan should start early, run smoothly, and avoid over-voltage risk.