
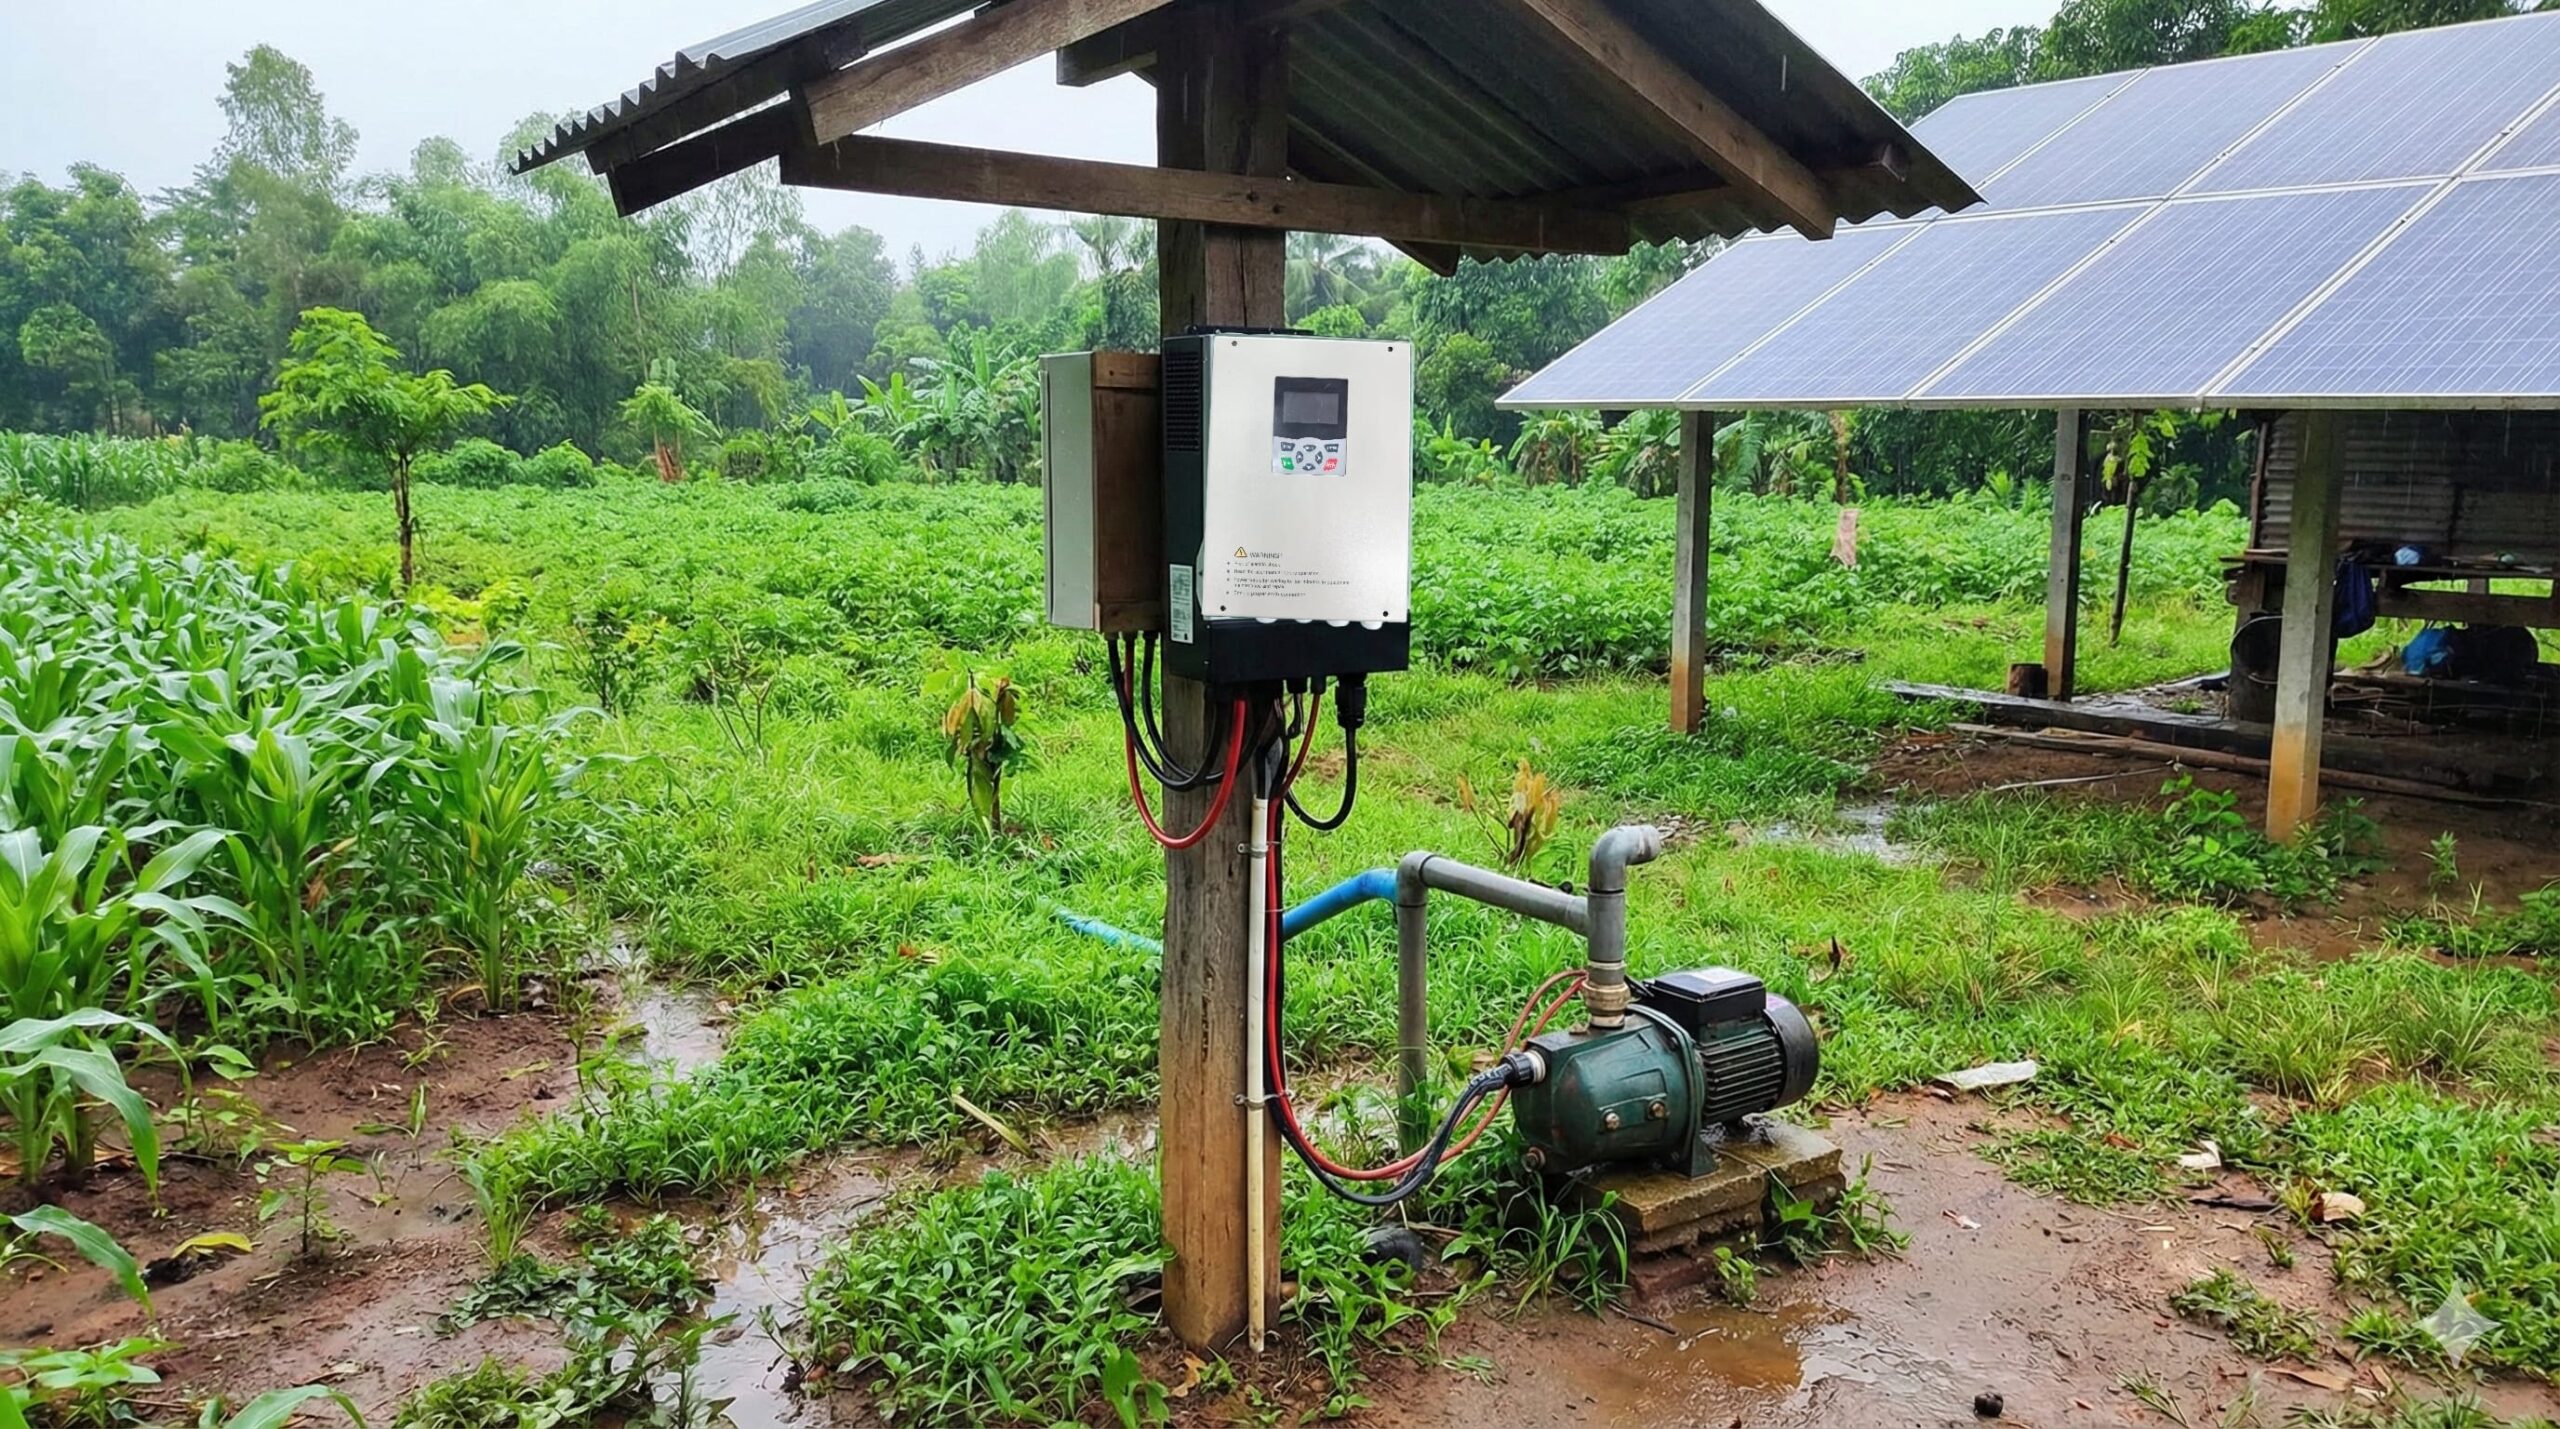
This is Andy. I've spent the last eight years in the solar pumping trenches, and one sizing mistake keeps showing up in irrigation projects: people match the inverter only by motor kW, then ignore the DC voltage window and field conditions.
That shortcut costs water. The pump may start late, trip at noon, or run below the flow rate the farmer expected. For EPC contractors and distributors, it also creates callbacks, warranty arguments, and lost trust.
For most irrigation projects, size the solar water pump inverter at the same kW level as the pump motor or one practical step above when the load is heavy, then check the PV string voltage, pump phase, MPPT range, and site conditions. Inverter kW is only the first filter. The real sizing happens in the voltage and operating window.
Quick answer: how to size a solar water pump inverter
Use this field rule:
Inverter output kW >= pump motor rated kW
Then check the solar side:
PV array power = pump power x 1.3 to 1.5
PV string voltage must sit inside the inverter MPPT input range
If the inverter kW is right but the PV voltage is wrong, the system still fails. Too low, and the inverter stays asleep. Too high, and you start risking over-voltage alarms or damaged components.
Step 1: start from the pump motor kW
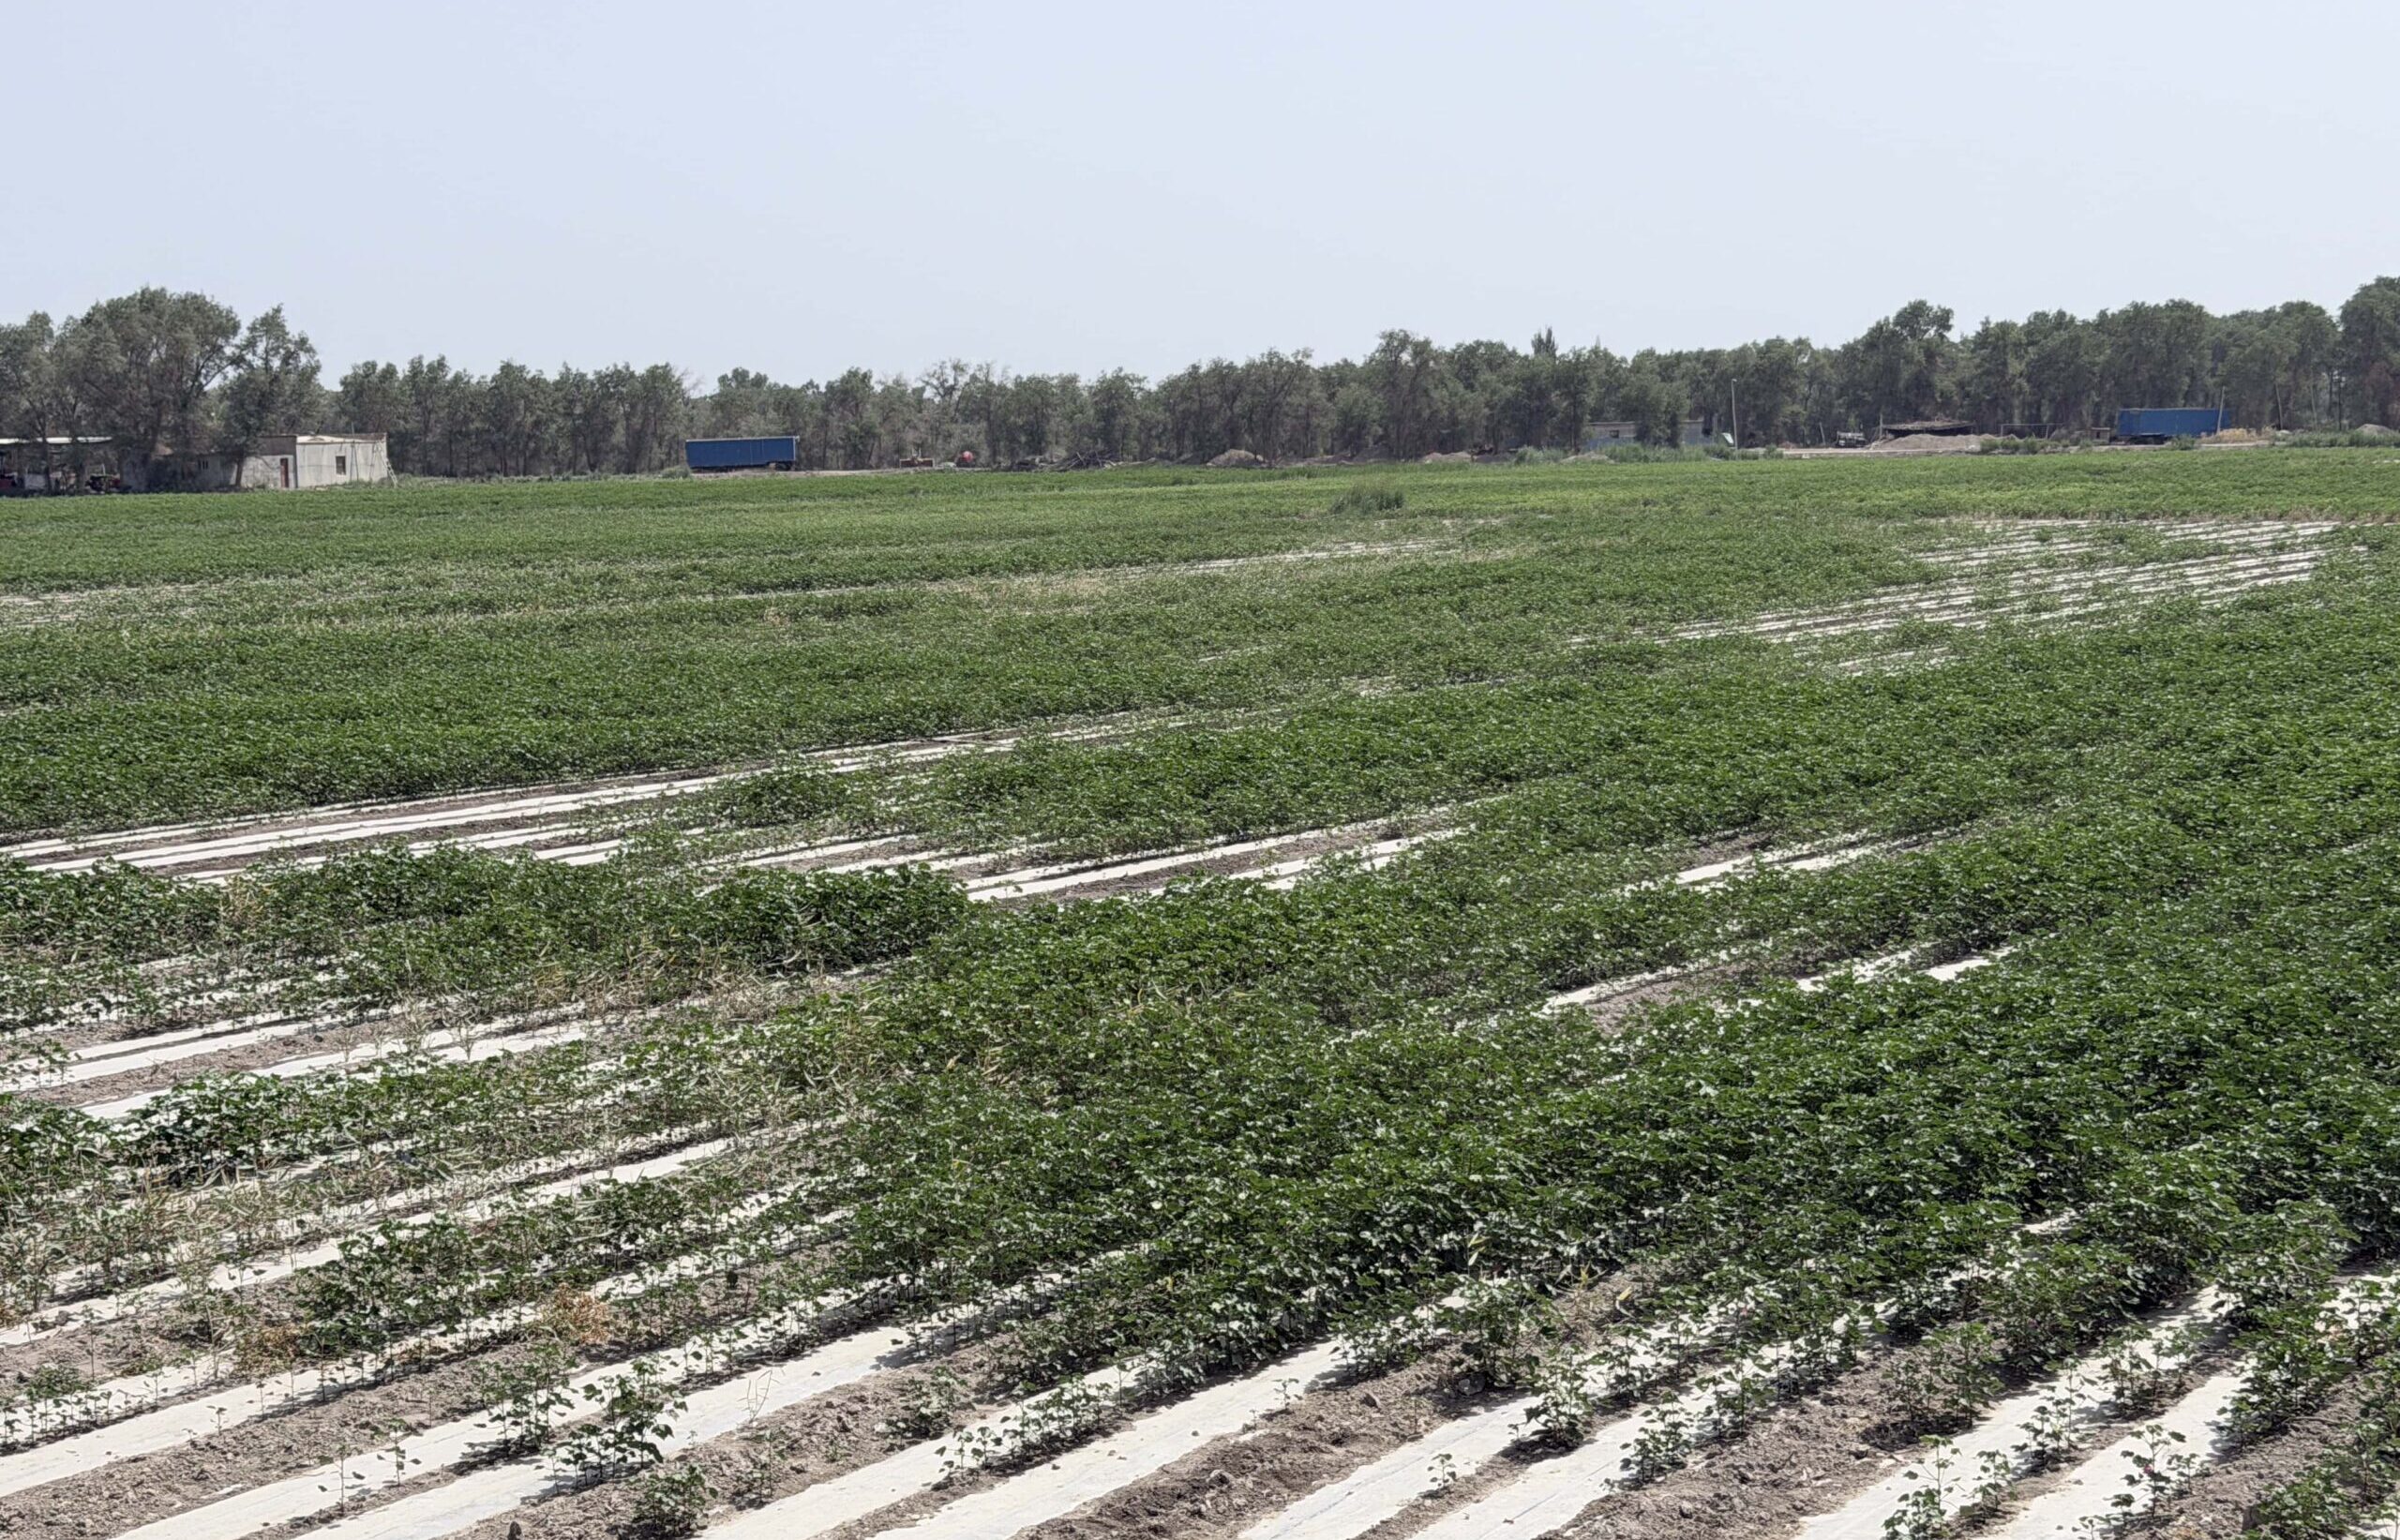
The pump nameplate gives the first sizing number. Do not skip it. You need the motor rated power, rated voltage, phase, rated current, and frequency.
| Pump motor | Typical inverter choice | Field note |
|---|---|---|
| 2.2kW pump | 2.2kW solar pump inverter | Common for small farms and shallow irrigation |
| 4kW pump | 4kW solar pump inverter | Check startup current and water head carefully |
| 7.5kW pump | 7.5kW solar pump inverter | Often needs stronger PV margin for stable flow |
| 11kW pump | 11kW solar pump inverter | Three-phase systems become more common here |
| 18.5kW pump | 18.5kW solar pump inverter | Thermal capacity and cabinet design matter |
Do not oversize the inverter blindly. A much larger inverter will not fix a weak PV array, wrong string voltage, undersized cable, or poor pump selection. It only adds cost.
Step 2: match the pump voltage and phase
Motor type changes the inverter selection. A 220V single-phase pump and a 380V three-phase pump do not use the same output design.
| Pump type | Typical use | What to watch |
|---|---|---|
| 220V single-phase AC pump | Small farms, wells, remote irrigation points | Needs stable frequency and enough DC voltage to start early |
| 220V three-phase AC pump | Medium irrigation or retrofit systems | Check phase output and motor current, not only voltage |
| 380V three-phase AC pump | Large irrigation, deep wells, higher flow projects | Needs higher PV string voltage and stronger thermal design |
For 220V pump projects, this 220V solar pump inverter page gives the product path. For 380V well and irrigation projects, see the 380V solar well pump systems guide.
Step 3: check the DC input voltage window
This is where many irrigation projects go wrong.
The inverter must receive enough DC voltage from the solar array before it can run the pump. Panel wattage matters, but voltage wakes the inverter up.
| System type | Typical target Vmp | Typical target Voc | Common field result if wrong |
|---|---|---|---|
| 220V single-phase pump inverter | Around 310V DC | Around 380V DC | Too low: late startup or sleep mode |
| 380V three-phase pump inverter | Around 540V DC | Around 650V DC | Too high: over-voltage alarm risk |
With many 540W to 600W panels, Vmp sits around 40V to 42V per panel. A 220V system often uses about 8 panels in series. A 380V system often uses 13 to 15 panels in series.
Do not copy these numbers without checking the actual panel datasheet. Cold weather raises Voc. High heat lowers Vmp. Long cable runs add voltage drop. Those details decide whether the system starts at 8 AM or waits until the sun is already high.
Step 4: size the PV array around daily water output
The inverter cannot create power that the panels do not provide. For irrigation, the target is not only peak operation at noon. The target is usable water over the day.
Use this rule:
Total PV power = pump power x 1.3 to 1.5
| Pump power | Minimum PV array | Stronger irrigation design |
|---|---|---|
| 2.2kW | 2.9kW to 3.3kW | 3.6kW+ |
| 4kW | 5.2kW to 6kW | 6.6kW to 7.2kW |
| 7.5kW | 9.8kW to 11.3kW | 12kW+ |
| 11kW | 14.3kW to 16.5kW | 15.6kW+ |
| 18.5kW | 24kW to 27.8kW | 25.2kW+ |
For example, an 11kW irrigation pump usually needs around 15kW or more of PV power. With 600W panels, two strings of 13 panels give:
2 x 13 x 600W = 15.6kW
That layout can hit the voltage target and the power target at the same time, as long as the inverter input range accepts the string voltage.
Step 5: check load conditions before final selection
Pump kW alone does not tell the full story. A 7.5kW pump in a shallow canal project behaves differently from a 7.5kW submersible pump lifting water from a deep well.
| Field condition | Why it changes inverter sizing |
|---|---|
| High head or deep well | Raises load pressure and startup demand |
| Long pipe distance | Adds friction loss and may require longer operating hours |
| Drip or sprinkler irrigation | Needs stable pressure and frequency control |
| High ambient temperature | Reduces inverter cooling margin inside cabinets |
| Dusty farm sites | Requires better enclosure, wiring, and maintenance planning |
| Weak morning sunlight | Makes low-voltage startup and MPPT behavior more important |
If the project uses a 380V three-phase pump, compare the requirement with the SP4 solar pump inverter range before confirming the final model.
Undersized vs oversized inverter: what happens in the field
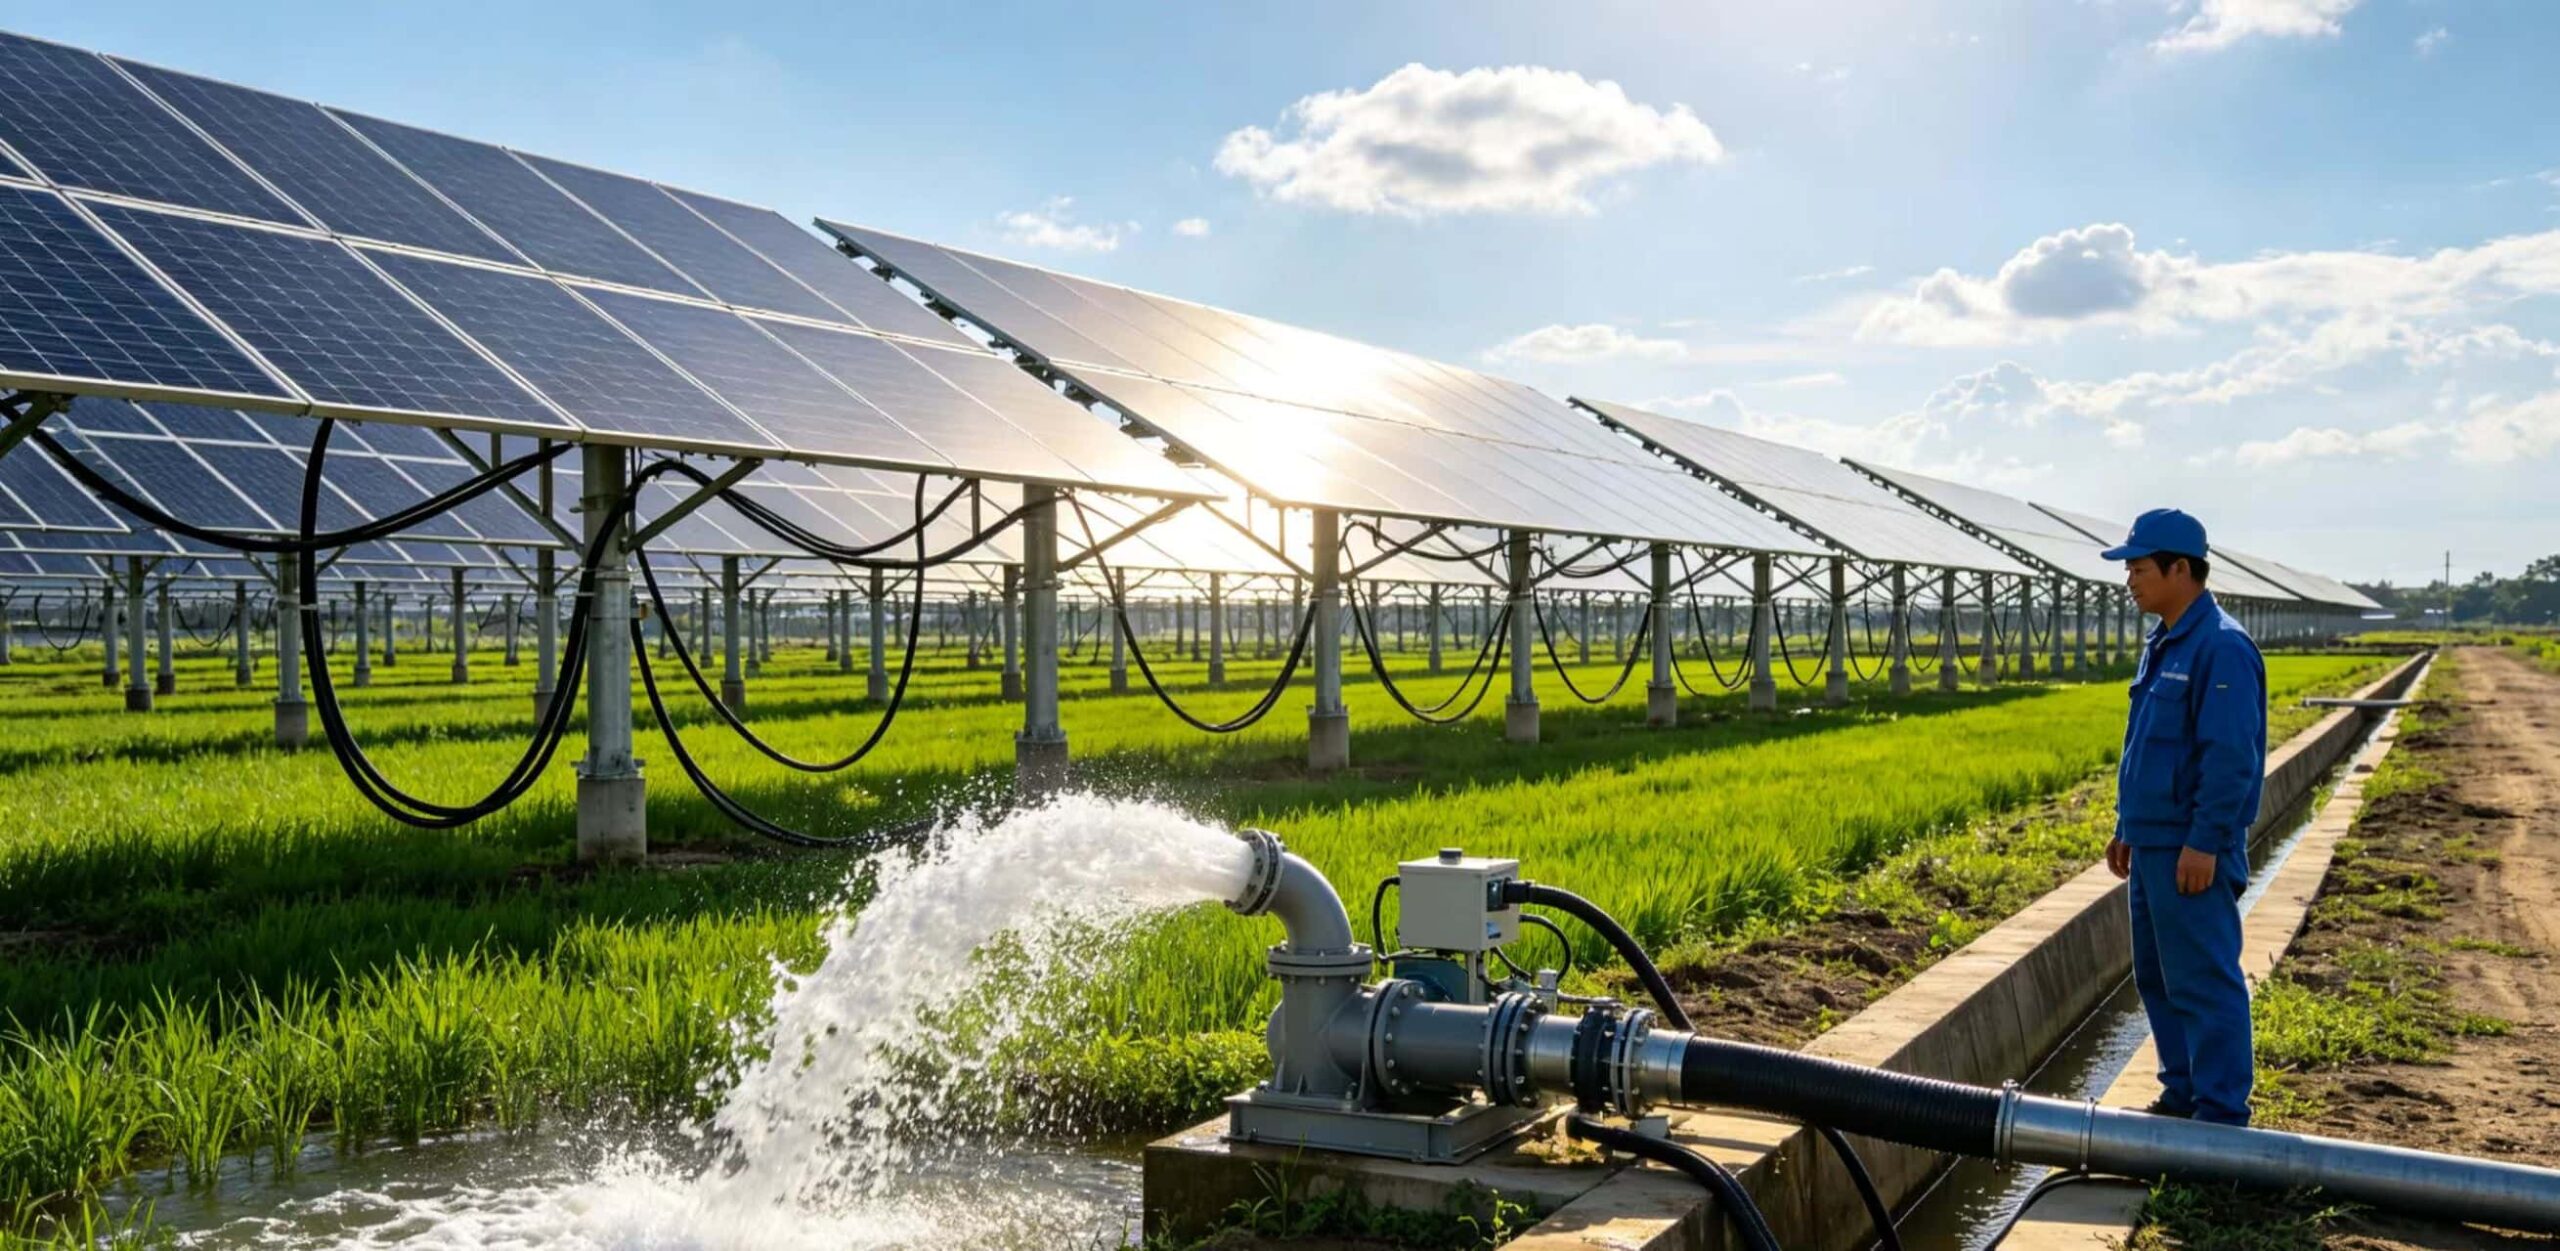
| Sizing mistake | What the buyer sees | What it costs the EPC |
|---|---|---|
| Inverter too small | Overload trips, unstable flow, failed startup | Commissioning delays and service calls |
| PV voltage too low | Pump starts late and stops early | Lower daily water output and client complaints |
| PV voltage too high | Over-voltage alarm or component stress | Risk of damaged inverter and warranty disputes |
| Inverter too large | No clear increase in water output | Higher upfront cost without real gain |
| Poor cooling or cabinet design | Trips during hot hours | Lost irrigation time at the worst part of the day |
The best system is not the largest inverter. It is the inverter that matches the pump, PV string, site heat, and irrigation schedule.
Hidden cost: panels, wiring, and crew time
Inverter sizing also affects the rest of the system. If the PV array design is weak, the buyer may try to fix the project later by adding panels, changing strings, or rewiring the combiner box. That costs more than doing the design once.
Panel choice matters too. For larger irrigation systems, 600W+ modules often reduce the total number of panels, rails, clamps, and wiring points. Older 330W panels may look cheaper, but they can double the installation work on an 18.5kW project.
That means more crew time under the sun, more connectors to inspect, and more places for faults to appear during the next dry season.
FAQ: solar water pump inverter sizing
Should the solar pump inverter be the same kW as the pump?
In many irrigation projects, yes. The inverter is usually selected at the same kW level as the pump motor, then the PV array and DC input voltage are designed with enough margin. Heavy-load or high-head projects may need one practical step of margin after checking motor current and site conditions.
Can I fix a weak irrigation system by choosing a larger inverter?
Not usually. A larger inverter will not fix low PV voltage, weak PV power, wrong panel strings, poor cable sizing, or a mismatched pump. Check the solar array and voltage window first.
What DC voltage should I target for a 220V solar pump inverter?
Many 220V single-phase solar pump inverter systems target around 310V DC Vmp and around 380V DC Voc. Always check the inverter datasheet and panel datasheet before final string design.
What DC voltage should I target for a 380V three-phase pump?
Many 380V three-phase solar pump inverter systems target around 540V DC Vmp and around 650V DC Voc. With panels around 41V Vmp, that often means 13 to 15 panels in series.
What information do I need before sizing the inverter?
Send the pump nameplate, rated voltage, phase, rated current, pump power, head and flow requirement, panel datasheet, cable distance, and site temperature range. Those details decide whether the system will run well in the field.
Product Path After Sizing
Once the pump kW, phase, current, PV string, head, and flow are confirmed, connect the sizing result to the product family. Many small 220V pump systems should be checked against the SP1 inverter path. Many 380V three-phase irrigation systems should be checked against the SP4 inverter path. For a complete package, compare the result with the solar pump system design guide.
Final field check before ordering
Before you order the inverter, check these five items:
- Pump kW, voltage, phase, and rated current
- PV array power at 1.3 to 1.5 times pump power
- PV string Vmp and Voc against the inverter input range
- Site heat, dust, cable distance, and irrigation schedule
- Protection settings for dry-run, overload, and over-voltage
This related guide on essential protection features in solar water pump inverters explains the protection side after sizing.
Need an engineer to check your inverter size?
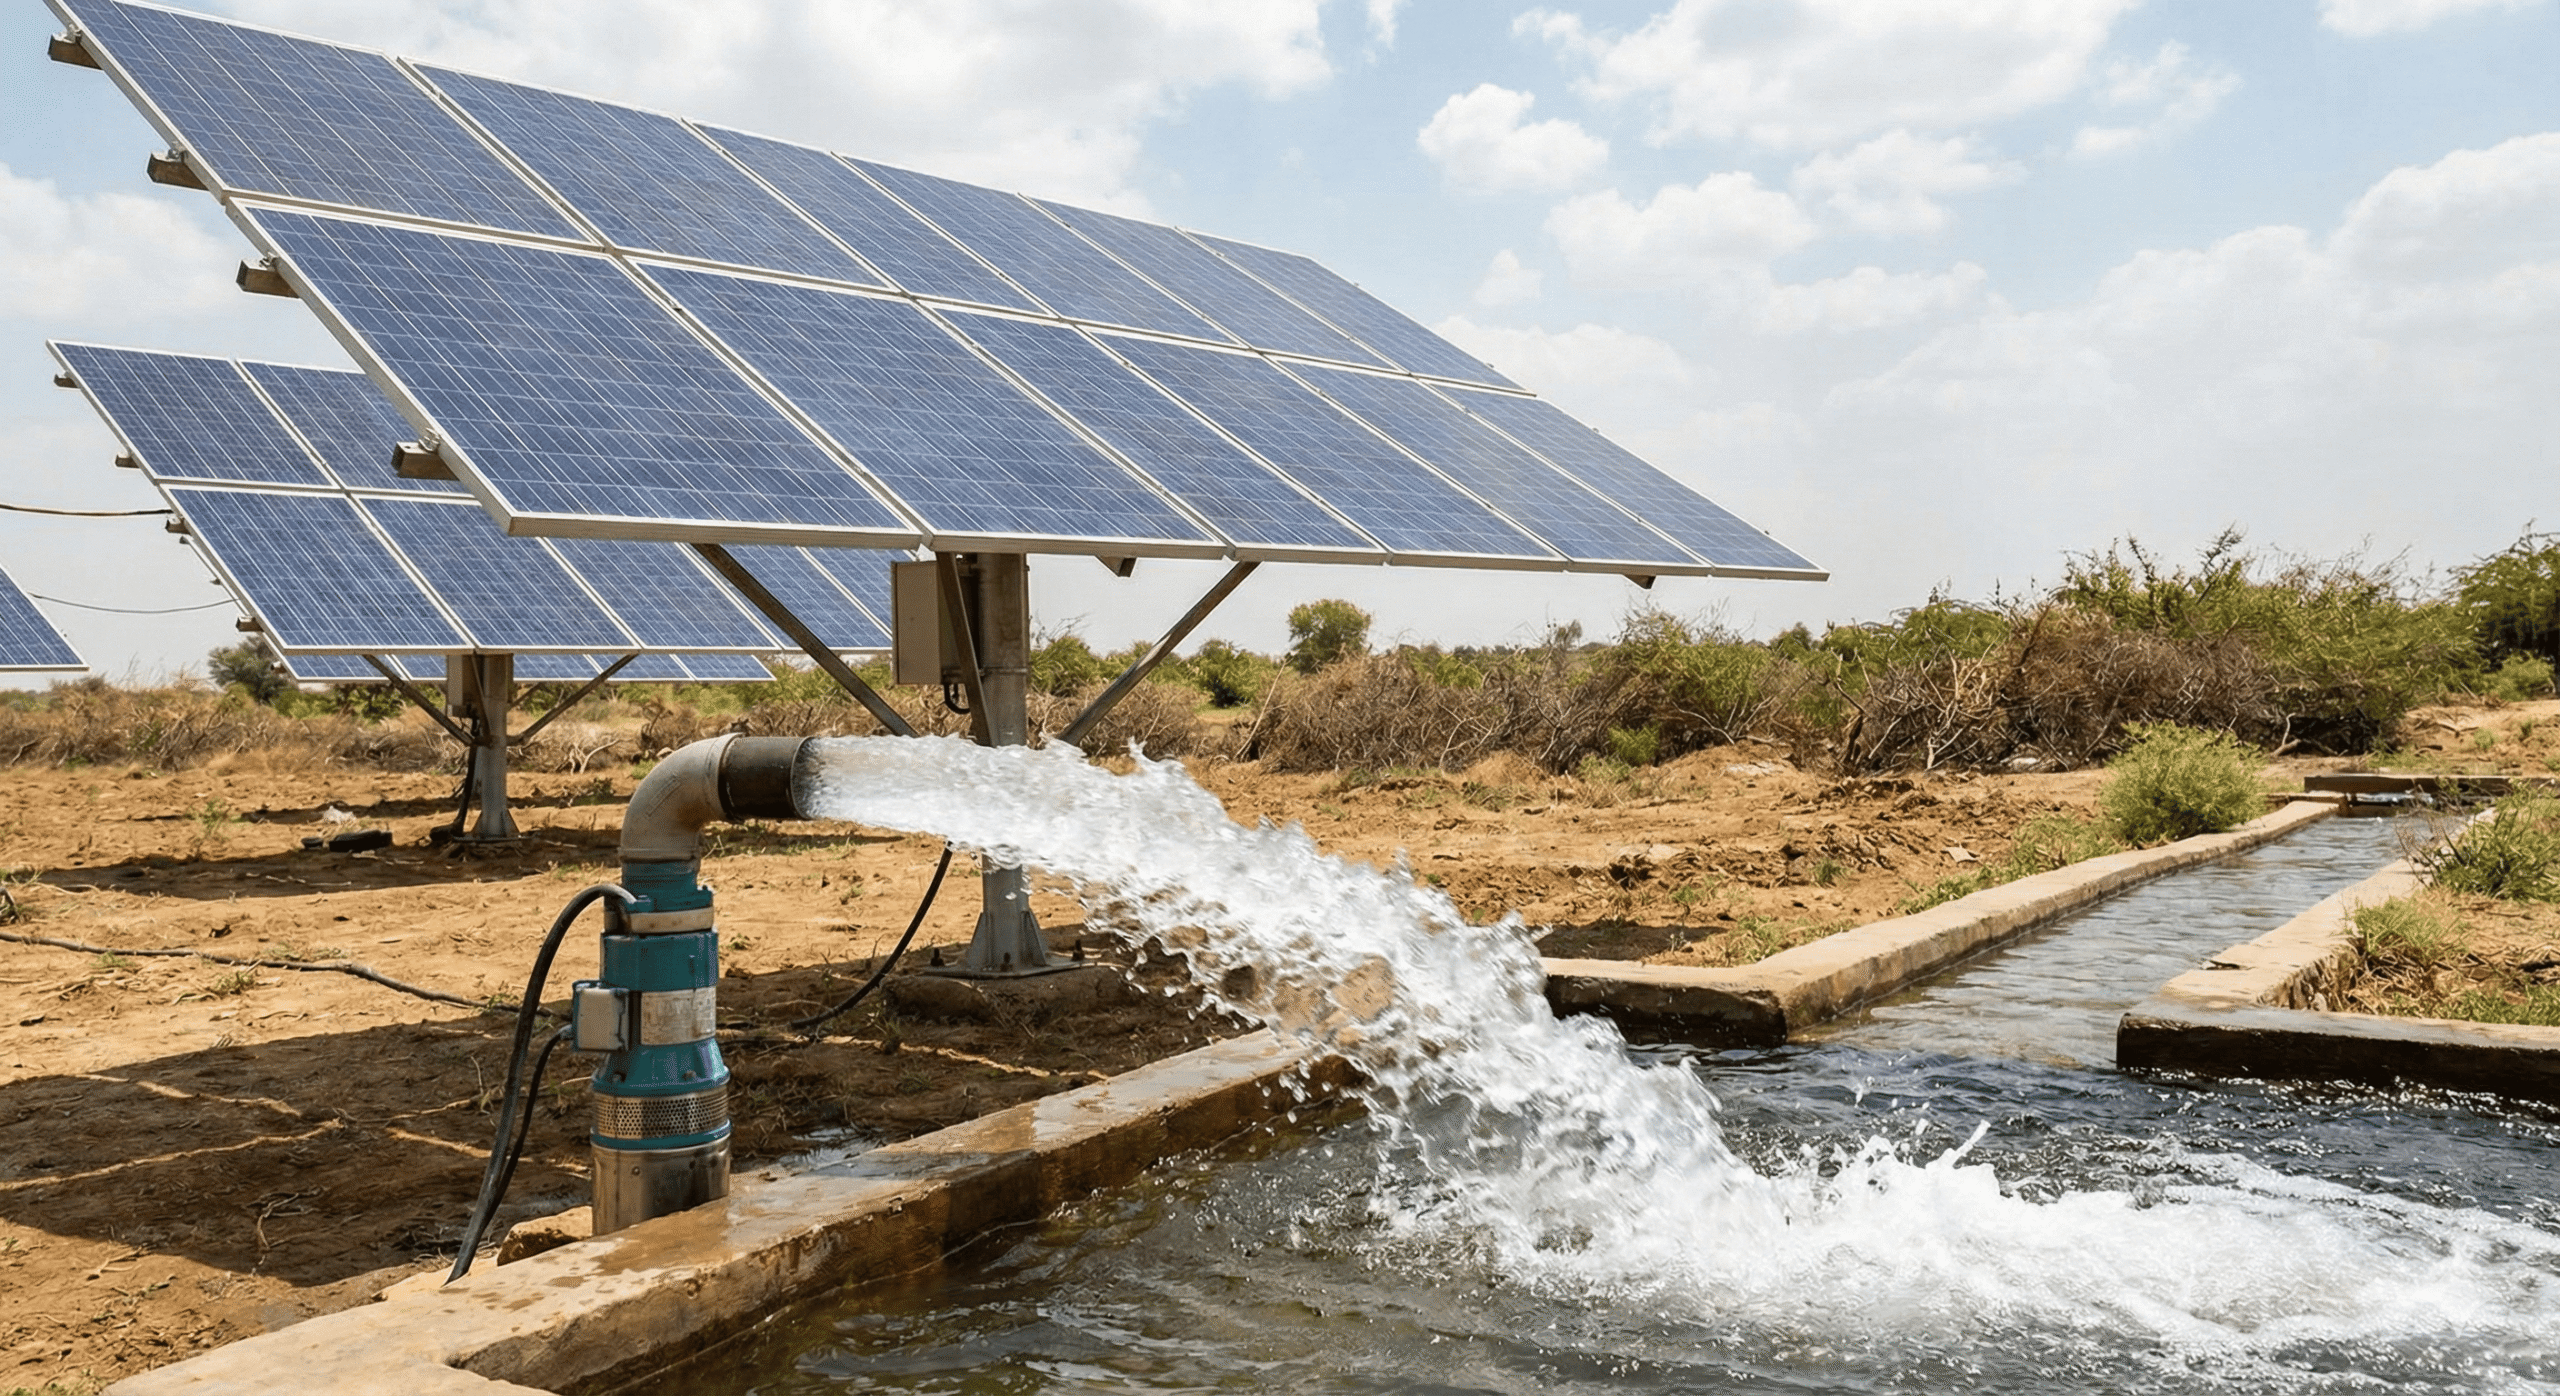
Send the pump nameplate, head and flow requirement, panel datasheet, and site conditions. We can check the inverter kW, PV string voltage, and basic irrigation sizing before you commit to equipment.
- Send Pump Nameplate
- Get Inverter Model Recommendation
- Request the 2025 System Design Chart